Painting a golf cart is one of the most cost-effective ways to transform its look, boost curb appeal, and increase resale value. Whether you’re refreshing an old model or customizing for fun, a clean, professional paint job makes a dramatic difference. With the right prep and tools, even a beginner can achieve results that rival a pro shop using products such as Rust-Oleum and Dupli-Color.
This guide walks you through every step of how to paint a golf cart, from choosing the right paint to applying a durable clear coat. You’ll learn how to avoid common mistakes, pick the best finish, and protect your work for years of outdoor use.
Choose Paint Type and Finish
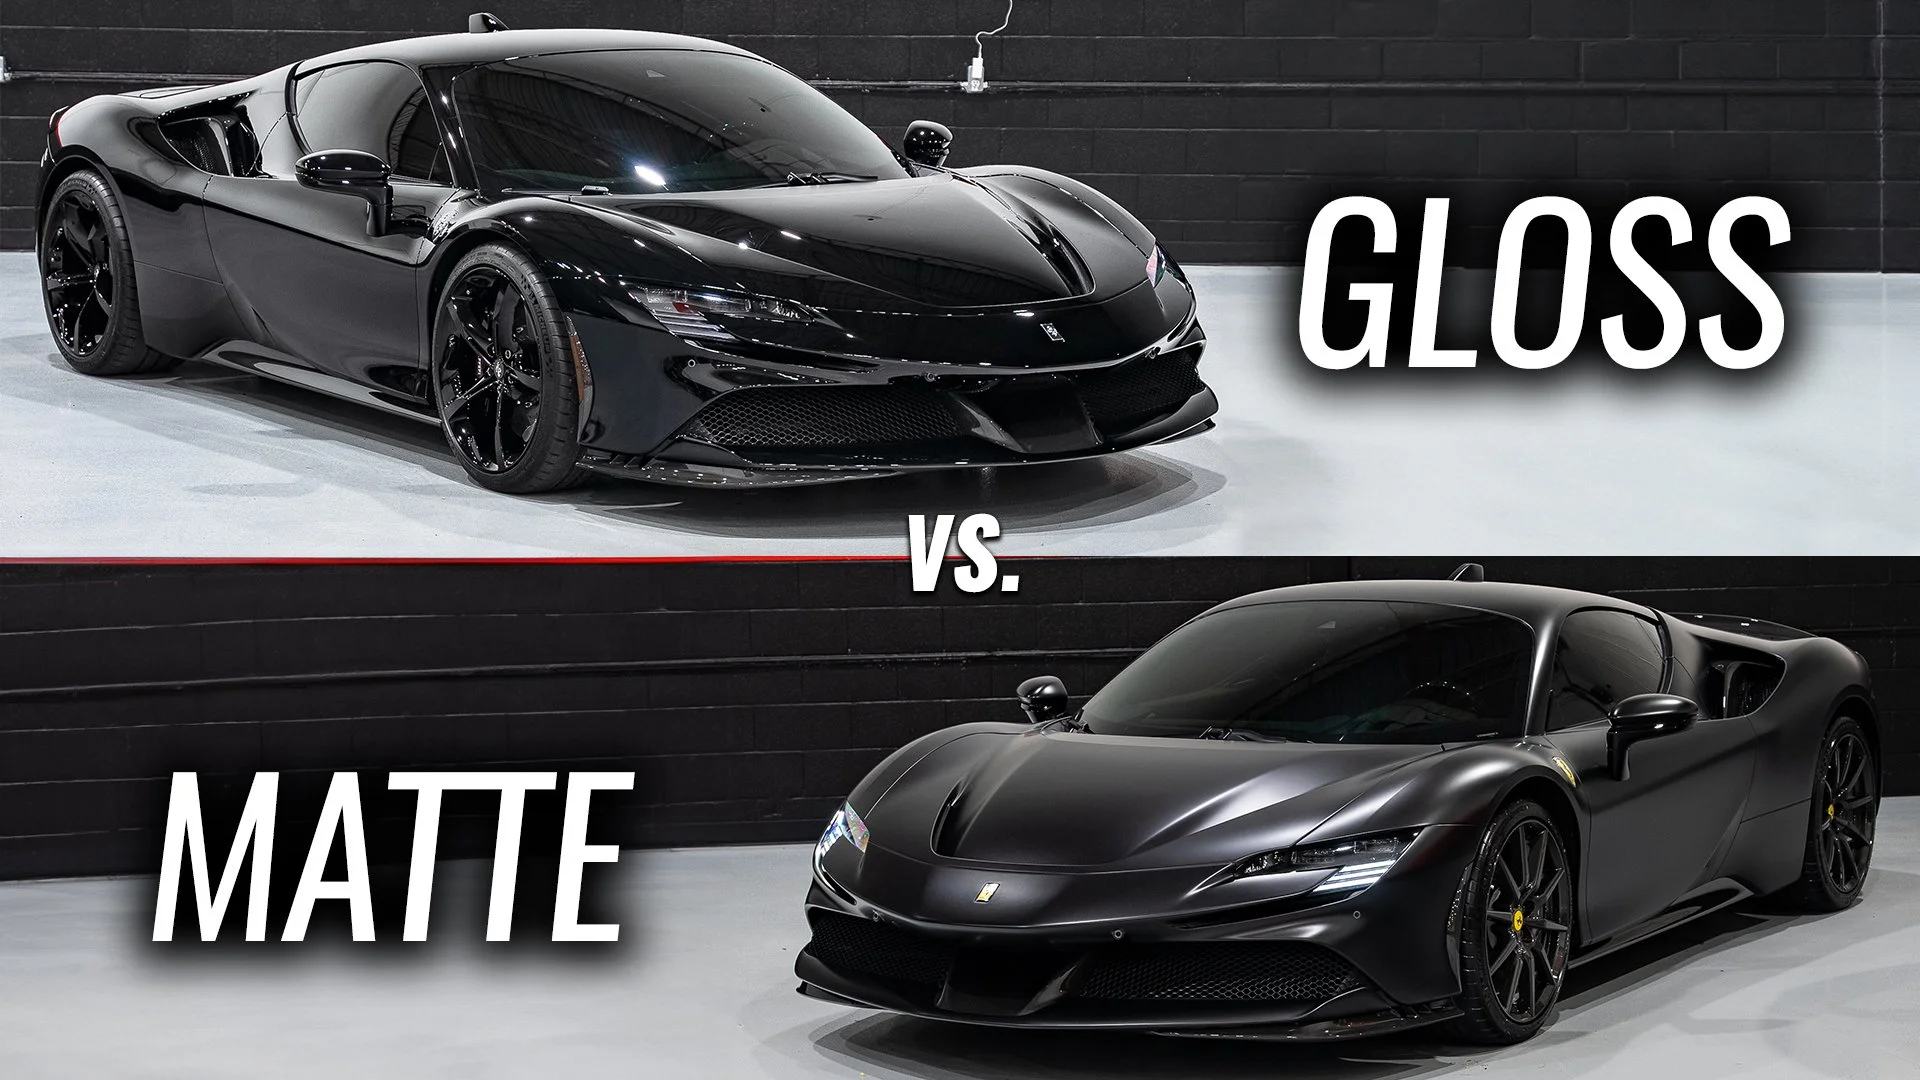
Gloss vs Matte: Which Is Right?
Gloss finishes deliver a high-shine, showroom-quality look that highlights curves and gives your cart a polished appearance. They’re ideal if you want heads to turn on the course or at events. However, gloss shows scratches and dirt more easily, requiring regular cleaning.
Matte finishes offer a modern, stealthy look that hides minor scuffs well. They’re popular for custom or off-road carts but attract dust and need special cleaners to avoid damage. Choose matte if you prefer low-key style and don’t mind extra care.
Pick Durable Automotive-Grade Paint
Use automotive-grade spray paint for long-term durability. Standard house paint won’t withstand sun, rain, or vibration. Top-performing brands include:
- Rust-Oleum Metallic Cobalt Blue for proven adhesion and chip resistance
- Dupli-Color for excellent metallic finishes when prep is solid
- Sherwin-Williams automotive enamel as a professional-grade option
Avoid hardware store paints not labeled for vehicles. Stick with products designed to handle UV exposure and temperature swings.
Decide on Custom Design Options
Go beyond solid colors with these popular styles:
- Two-tone combos such as black/red, white/blue, or matte gray with neon trim
- Racing stripes or flames applied with stencils or vinyl wraps for precision
- Color-shifting paint that changes hue with light or heat, best for show carts
- Chrome wrap over base coat for a mirror-like shine without plating
- LED-lit panels with embedded lighting for night glow
For resale, keep designs clean and classic. Save wild effects for personal use.
Select Spray Cans or Spray Gun

Use Spray Cans for Best Beginner Results
Spray cans are safer, easier, and deliver professional results when used correctly. Modern rattle cans with fan nozzles provide wide, even coverage and reduce overspray.
Advantages include:
– No thinning or setup required
– Lower risk of runs
– Affordable and widely available
– Ideal for resale projects
A Rust-Oleum quart-sized kit at around $99 covers most carts fully.
Avoid Spray Guns Unless Experienced
Electric airless sprayers can be dangerous when paired with solvent-based paints such as acetone mixtures. They require proper ventilation, PPE including a respirator, gloves, and goggles, and skill in adjusting pressure and thinning ratios.
One user attempted to use a fence-staining sprayer and was advised against it due to fire risk and poor finish control. Beginners should skip spray guns, especially for resale carts.
Prep the Surface Thoroughly
Wash and Degrease Completely
Start with a full wash using soap and water. Scrub all painted surfaces with a maroon Scotch-Brite pad to remove grime, wax, and oxidation. This step is critical because paint won’t stick to dirty or slick surfaces.
Rinse thoroughly and let dry completely before moving to the next step.
Repair Dents and Scratches
Wet-sand deep scratches and scuffed areas with 320-grit paper. Fill dents with auto body filler if needed, then sand smooth. The goal is a flat, even surface because what you see now will show through the final coat.
Scuff and Clean Before Priming
Scuff the entire body with 320-grit sandpaper or a Scotch-Brite pad. This creates tooth for primer adhesion.
After sanding, follow these steps:
- Wipe down with isopropyl alcohol to remove oils
- Use a tack cloth to pick up dust and lint
- Work in a clean, covered area to avoid airborne debris
Skip this prep at your peril because poor adhesion leads to peeling within months.
Apply Bonding Primer Correctly
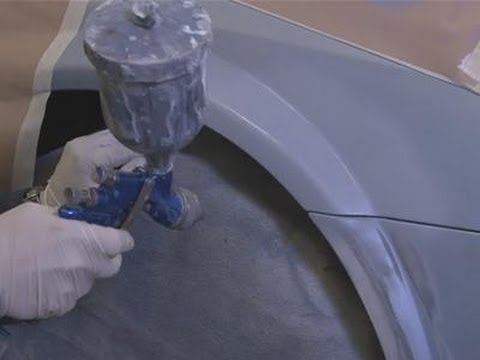
Use Rust-Oleum Gray Bonding Primer
This primer is community-tested and proven for golf carts. It sticks well to plastic and metal and blocks rust.
How to apply:
1. Shake the can for 60 seconds
2. Hold 8 to 12 inches from the surface
3. Apply two light coats, waiting 5 to 10 minutes between
Keep coats thin to prevent drips. Coverage should be even but not thick.
Wait 24 Hours Before Painting
Let primer cure for a full 24 hours. This ensures maximum bond strength and prevents soft paint issues later.
Light sanding between coats can help, but with bonding primer it’s optional. If the surface is smooth and dust-free, proceed as-is.
Paint with Multiple Thin Coats
Choose Your Color and Test First
Pick your main color such as Rust-Oleum Metallic Cobalt Blue, but test it first on a hidden panel or metal scrap. Some colors look different in real life than on the can or screen.
Apply a small patch and let dry. Check for shade accuracy and metallic effect.
Apply 3 Light Coats of Paint
Use the same technique as primer:
– Hold the can 8 to 12 inches away
– Use sweeping, overlapping strokes
– Apply three thin coats, waiting 10 to 15 minutes between
Never try to cover in one pass because thick coats cause runs, sags, and orange peel texture.
Keep the can moving at all times. Start spraying before the surface, glide over, and stop after to prevent buildup at the edges.
Paint in a Covered, Dust-Free Area
Work in a garage or under a canopy. Avoid painting outdoors on windy days since dust and bugs will stick to wet paint.
Close doors and windows if possible. Turn off HVAC systems to reduce air movement.
Finish with Clear Coat Protection
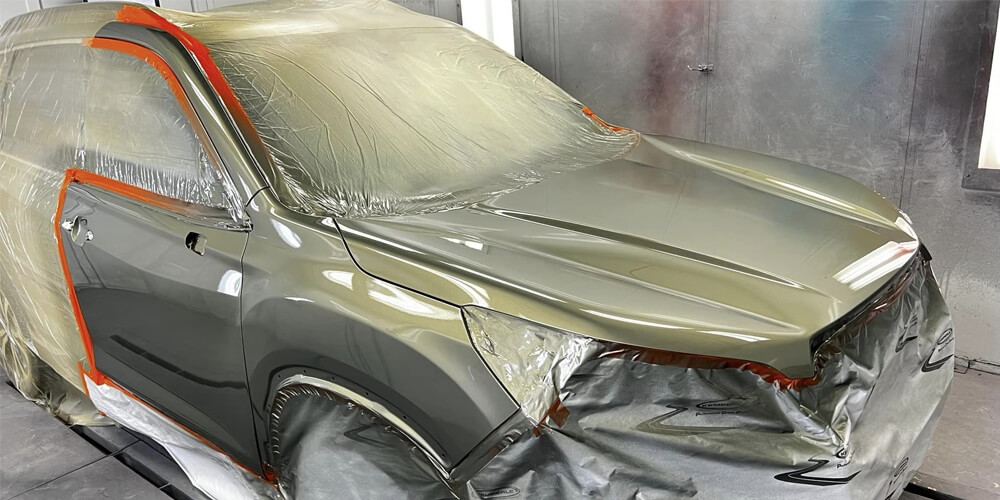
Always Use a Clear Coat
Clear coat is non-negotiable for durability. It seals the color, resists UV fading, and protects against chips and scratches.
Recommended product: Rust-Oleum Clear Coat Gloss Enamel.
Apply after 24 hours of paint drying. Use 2 to 3 light coats just like paint.
Wait 10 to 15 minutes between coats. Let the final coat cure 24+ hours before handling.
Gloss Clear vs Matte Clear
Match your finish:
– Gloss clear for shiny, vibrant results
– Matte clear if you want a flat, modern look
Never skip clear coat, even on matte finishes, because it extends life significantly.
Paint Trim and Details Separately
Match Trim Finish to Overall Style
Most carts use black spray paint for trim, fenders, or accents. Choose gloss black to match a shiny body or matte black for a stealthy, uniform look. Both are valid depending on your design.
Follow Same Prep Steps for Trim
Don’t rush trim work. Remove parts if possible such as mirrors or panels. Then:
- Clean with alcohol
- Scuff lightly
- Mask off surrounding areas
- Spray from 10 inches with steady motion
Use the same paint system (primer, color, and clear) for consistency.
Protect Against Weather Damage
UV and Rain Are Your Biggest Threats
Golf carts live outdoors, so paint faces constant UV exposure and moisture. Without protection, colors fade and clear coats chalk within a year.
Prevent damage by applying a full clear coat, storing in a garage or under a cover, and washing regularly to remove dirt and salt.
Matte finishes trap more grime, so clean gently with pH-neutral soap.
Fix Chips and Scratches Early
Inspect your cart monthly. Use touch-up paint on small chips before rust spreads. Keep leftover paint in a cool, dry place for repairs.
Avoid pressure washing near seams because it can force water under paint.
Maintain Paint for Long Life
Wash Weekly to Prevent Buildup
Use mild car wash soap and a soft sponge. Rinse thoroughly. Dry with a microfiber towel to prevent water spots.
For matte finishes, use only cleaners labeled safe for flat paint because regular waxes can create shiny patches.
Store Covered When Not in Use
Even a simple cart cover blocks UV rays and reduces dirt accumulation. For best results, park in a garage or shaded area.
Long-term exposure leads to faster fading and breakdown.
Reapply Clear Coat Every Few Years
After 2 to 3 years, consider a fresh clear coat layer to restore gloss and protection. Lightly sand with 1000-grit, clean, and spray new clear over intact paint.
Repaint Partial Panels Carefully
Color Matching Is Challenging
If only repainting a fender or bumper, exact color match is hard for several reasons:
– New paint batch may differ slightly
– Old paint has faded from sun exposure
– Metallic flake distribution varies
Test new paint next to old before committing.
Full Repaint Ensures Uniform Look
For consistent color and resale value, paint the entire body. It takes only slightly more time and material but looks infinitely better.
If doing partial work, blend edges carefully and use clear coat to help match sheen.
Maximize Resale Value
Buyers Judge by Appearance
A clean, well-painted cart sells faster and for more. Surface quality matters more than color choice.
Key factors that boost resale include:
– Smooth, even finish
– No runs or orange peel
– Full clear coat
– No overspray on trim or glass
Avoid wild colors or graphics unless targeting a niche buyer.
Stick to Proven Methods for Resale
When selling:
– Use spray cans with fan nozzles
– Follow the full prep, prime, paint, and clear process
– Choose durable brands such as Rust-Oleum or Dupli-Color
– Avoid experimental techniques like color-shifting paint
A conservative, high-quality job outperforms flashy but sloppy work.
Follow Safety Best Practices
Ventilate Your Workspace
Always paint in a well-ventilated area. Open garage doors, use fans, and avoid breathing fumes.
Wear an N95 respirator or paint mask, safety goggles, nitrile gloves, and long sleeves.
Solvent-based paints can be flammable, so keep away from sparks or open flames.
Never Use Fence Sprayers for Paint
One user considered using an electric sprayer meant for wood stain. Experts strongly advised against it due to fire hazard from atomized solvents, poor control leading to runs, and risk of inhaling fine mist.
Stick to purpose-built tools.
Frequently Asked Questions About Painting a Golf Cart
How Long Does It Take to Paint a Golf Cart?
A full paint job takes at least 3 days when you include all drying times. You need 24 hours after priming, 24 hours after the final color coat, and another 24 hours after clear coat before handling the cart.
What Is the Cheapest Way to Paint a Golf Cart?
Spray cans are the most affordable option. A quart-sized Rust-Oleum kit starts around $99 and covers most carts fully. This is cheaper than hiring a professional or renting spray equipment.
Can You Paint a Golf Cart Without Sanding?
No, sanding is essential. Scuffing with 320-grit sandpaper or a Scotch-Brite pad creates tooth for primer adhesion. Skipping this step leads to peeling paint within months.
Do You Need Clear Coat on a Golf Cart?
Yes, clear coat is non-negotiable for durability. It seals the color, resists UV fading, and protects against chips. Both gloss and matte finishes benefit from a quality clear coat.
What Paint Lasts Longest on a Golf Cart?
Automotive-grade paints from Rust-Oleum and Dupli-Color offer proven durability. These products resist UV rays, weather, and vibration far better than standard household paints.
Can You Paint a Golf Cart With a Spray Gun?
Yes, but only if you have experience. Spray guns require knowledge of thinning ratios, pressure adjustment, and safety with solvent-based paints. Beginners should stick to spray cans for better results and lower risk.
Final Takeaways on How to Paint a Golf Cart
Learning how to paint a golf cart comes down to three essentials: thorough surface prep, multiple thin coats, and never-ending clear coat protection. Use automotive-grade products like Rust-Oleum or Dupli-Color, work in a covered dust-free area, and allow proper drying time between every layer.
For around $99 in materials and three days of patience, you can transform your cart into a head-turner that holds its value. Start by gathering your supplies, choose a dry weekend with good weather, and follow the step-by-step process above for professional-looking results.