You’ve finally snagged those premium golf grips you’ve had your eye on, or maybe your current set has gone slick and unreliable after a season of weekend rounds. Either scenario, learning how to remove golf grips is the first real step toward a better feel and more control on every swing. The good news: you don’t need a club fitter or a fancy workshop to do it well. With a few basic tools, the right solvent, and some patience, you can strip an old grip in under 15 minutes and get your club ready for a fresh install. This guide covers every method, from solvent-based techniques to heat and water alternatives, so you can protect your shafts and avoid the mistakes that ruin clubs.
Tools You Need to Remove Golf Grips

Preparation makes the difference between a clean removal and a damaged shaft. Gather these items before you start.
Cutting and Safety Tools
- Utility knife or hook blade for slicing the grip open lengthwise
- Bench vise or golf grip vise clamp to hold the shaft steady
- Work gloves to protect hands from sharp edges
- Safety glasses to guard against flying debris or splashes
Solvent and Cleaning Supplies
- Grip solvent, denatured alcohol, or acetone to break down adhesive
- Clean rags or shop towels for wiping residue
- Narrow deburring tool to lift old tape off the shaft
Expert Note: Skip gasoline and paint thinner. They may dissolve the grip quickly, but they can also weaken graphite shafts and pose serious safety risks.
Step-by-Step Guide to Removing Golf Grips
Follow this process for any club type, from drivers to putters.
Step 1: Secure the Club in a Vise
Clamp the shaft firmly about halfway down, leaving the grip hanging free. Make sure the clubhead is supported so it doesn’t strike the floor or bench. A stable club makes cutting safer and more accurate.
Step 2: Slice the Grip Lengthwise
- Hold the utility knife at a shallow angle against the grip.
- Make one smooth cut from end cap to butt, following the natural seam if visible.
- Cut only through the rubber or synthetic layer, never into the shaft.
Warning: Even a shallow nick on a graphite shaft can lead to catastrophic failure during a swing. Take your time and let the blade do the work.
Step 3: Peel the Grip Off the Shaft
- Start at the top (butt end) and pull outward.
- If the grip resists, pour 1 to 2 tablespoons of solvent inside.
- Wait 30 to 60 seconds for the adhesive to soften.
- Continue peeling slowly until the entire sleeve slides free.
For stubborn grips, rotate the club and apply more solvent along the way.
Step 4: Remove Old Grip Tape and Adhesive
Once the grip is off, you’ll see layers of tape wrapped around the shaft.
- Slide a hook blade or flathead screwdriver under one edge of the tape.
- Lift gently and unwind in a spiral motion.
- For stuck patches, dab on solvent and wait 30 seconds before scraping.
Visual Cue: The shaft should feel smooth and clean before you install a new grip. Any sticky residue will prevent proper adhesion.
Step 5: Inspect and Clean the Shaft
Take a moment to check for damage before moving on.
- Look for dents, rust, or deep scratches on steel shafts.
- On graphite, watch for fraying, cracks, or splintering near the hosel.
- Wipe the entire area with isopropyl alcohol and let it dry fully.
If you spot serious damage, consider consulting a club repair professional before installing new grips.
Solvent-Free Methods for Removing Golf Grips
No solvent on hand? These alternatives work with a bit more effort.
Heat Method with a Hair Dryer
Warm adhesive becomes pliable and easier to peel.
- Direct a hair dryer at the grip on medium heat for 2 to 3 minutes.
- Rotate the club to heat every side evenly.
- Peel the grip starting at the butt end while it’s still warm.
Caution: Never use a heat gun. Excessive temperatures can melt the grip, damage the shaft finish, or even warp the clubhead.
Water-Soak Method for Water-Activated Tape
Some older or eco-friendly setups use water-soluble adhesive.
- Soak a towel in warm water and wrap it around the grip.
- Let it sit for 10 to 15 minutes to dissolve the glue.
- Peel the grip off without cutting.
This method takes longer but requires no chemicals and is completely safe for all shaft types.
Common Mistakes to Avoid When Removing Golf Grips
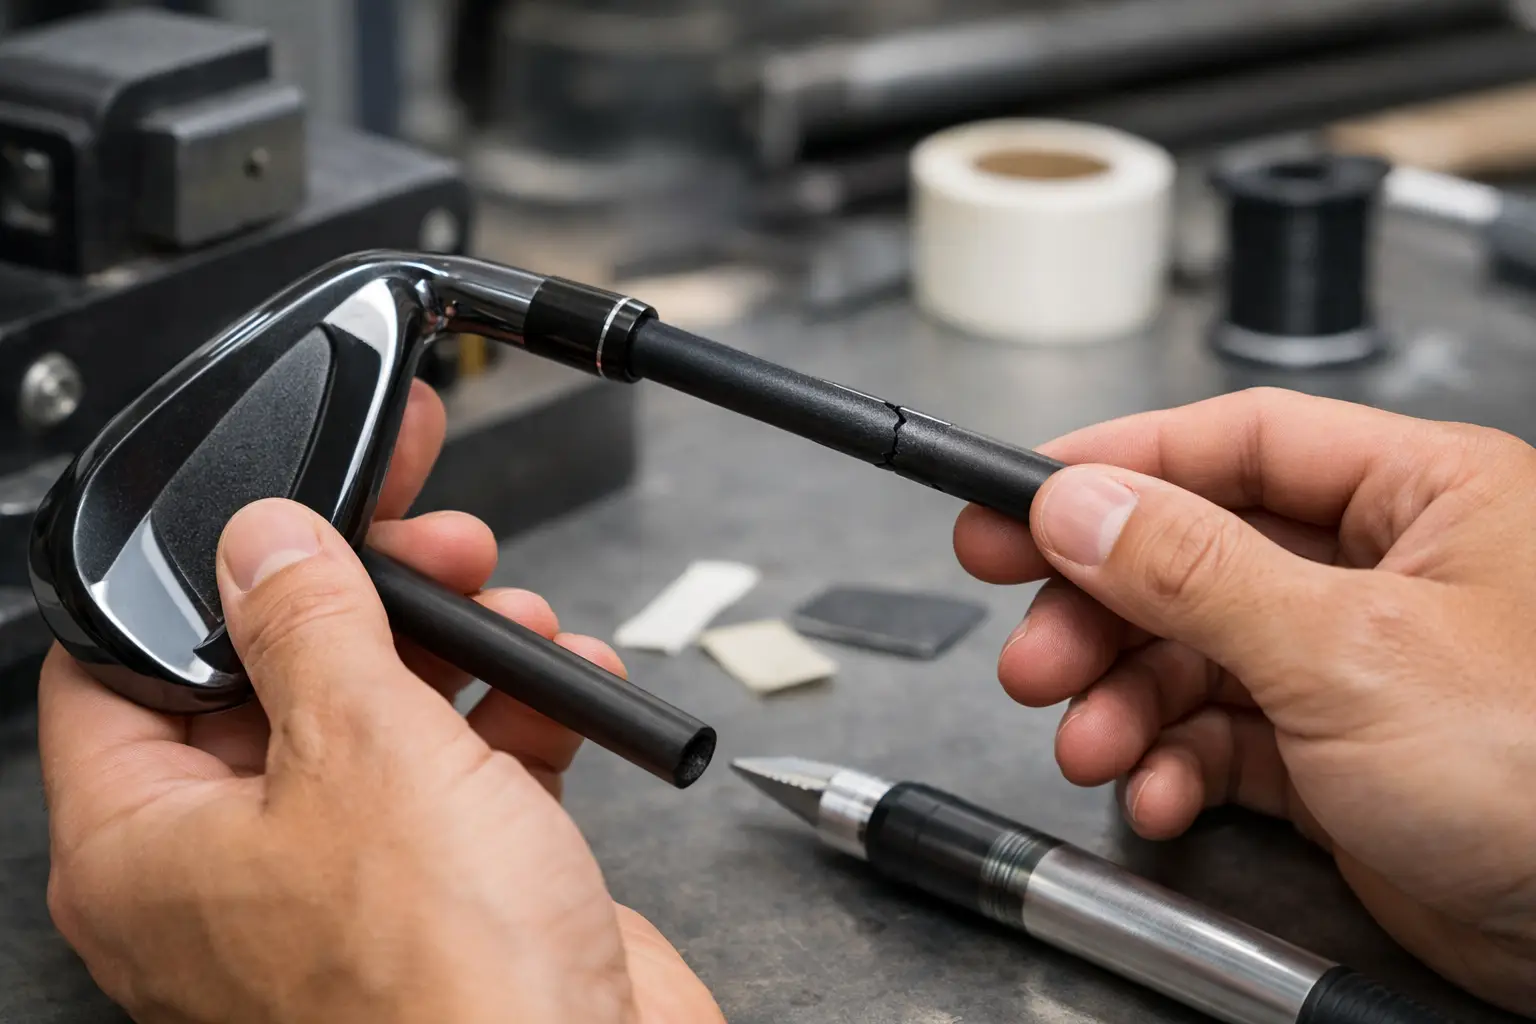
Most damage happens during cutting and cleanup. Steer clear of these errors.
Cutting Too Deep into the Graphite
A single deep slice can ruin a graphite shaft. Always use light pressure and make multiple shallow passes. If you feel resistance, stop and reposition the blade.
Using the Wrong Solvent on Graphite
Acetone and paint thinner may work on steel, but they can degrade graphite over time. Stick to grip-specific solvents or denatured alcohol for graphite shafts.
Leaving Tape Residue Behind
Leftover adhesive creates bumps under the new grip and weakens the bond. Remove every strip and finish with a solvent wipe for a perfectly clean surface.
Time and Difficulty Breakdown
Here’s what to expect for your project.
- Time per club: 10 to 20 minutes
- Skill level: Beginner-friendly with proper tools
- Full set (14 clubs): 2 to 4 hours total
- Cost savings: $70 to $140 versus professional regripping
Pro Tip: Regrip one club at a time if you’re doing a full set. This keeps your club order straight and avoids mixing up shafts.
When to Call a Professional
Some situations are better left to a club fitter.
- Vintage clubs where preservation matters more than savings
- Multi-layer or corded grips that are hard to cut cleanly
- Welded end caps that risk shaft damage during removal
- Uncertainty about shaft material, especially with older hybrids or woods
Most golf shops charge $5 to $10 per club for removal and installation, a small price for peace of mind on expensive equipment.
Preparing the Shaft for a New Grip
A clean removal is only half the job. Set yourself up for a perfect install.
Choose the Right Grip Tape
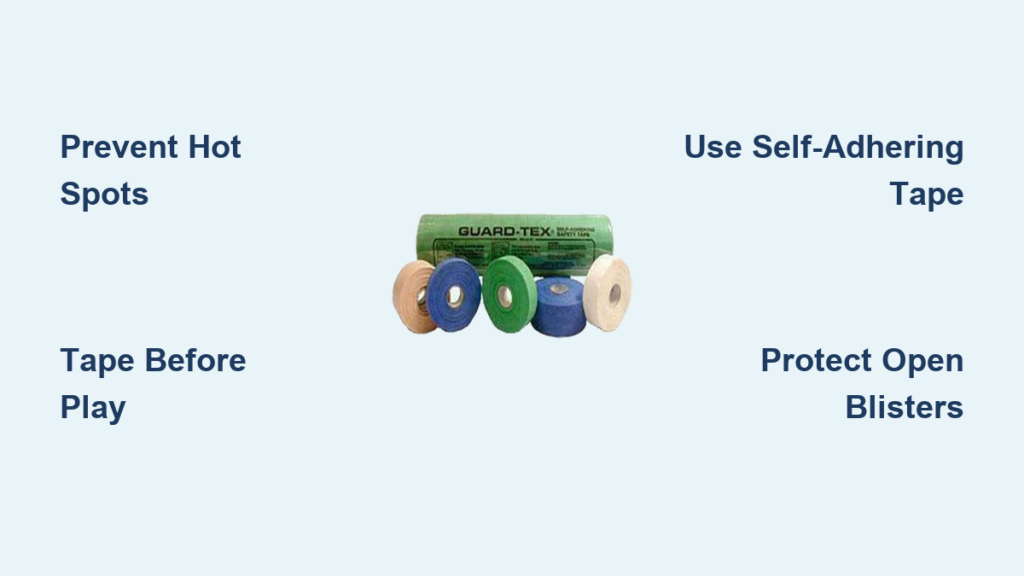
- Double-sided grip tape is the industry standard and works with most solvents
- Pre-taped grips come with adhesive already applied for faster installation
- Water-activated tape is eco-friendly and works well for practice clubs
Align the Grip Properly
- Match the new grip’s orientation with the old one
- Use the logo or a marker line as your alignment guide
- Slide the grip on in one smooth motion without twisting once it’s seated
Caring for Your New Golf Grips
Protect your investment with simple maintenance habits.
- Wash grips monthly with mild soap and warm water
- Avoid leaving clubs in hot cars, since heat accelerates rubber breakdown
- Store in a cool, dry environment between rounds
- Inspect every 10 rounds for shine, slipperiness, or cracks
Most grips last 12 to 18 months with regular play, though heavy hitters may need replacements sooner.
Frequently Asked Questions About Removing Golf Grips
Can you remove golf grips without cutting them?
Yes, if the grip uses water-soluble tape. Soak the grip in warm water for 15 minutes, and the adhesive will loosen enough to peel it off whole. For standard double-sided tape, cutting is usually required.
What solvent is safe for graphite shafts?
Denatured alcohol and golf-specific grip solvents are safest. Avoid acetone, paint thinner, and any petroleum-based products, since these can weaken graphite fibers over time.
How long does it take to remove a golf grip?
Expect 10 to 20 minutes per club with proper tools and solvent. Solvent-free methods take longer, sometimes 25 to 30 minutes per grip.
Is it cheaper to regrip clubs yourself?
Absolutely. DIY removal and installation costs about $2 to $4 per club in materials, compared to $5 to $10 per club at most golf shops. For a full set, that’s a savings of $70 or more.
Can you reuse old golf grips?
Generally, no. Once removed, grips stretch and lose their original shape and tack. Reusing them leads to loose fits and poor performance. Always install fresh grips after removal.
Final Thoughts on Removing Golf Grips
Learning how to remove golf grips puts you in control of your equipment and your budget. The process boils down to three essentials: cut carefully, use the right solvent, and clean the shaft completely. With those basics, you can refresh an entire bag in an afternoon for a fraction of the cost of professional service. Start by gathering your tools, work on one club at a time, and inspect each shaft before installing new grips. Your hands, your scorecard, and your wallet will all thank you.