You’ve probably seen them on the course, vibrant disc golf discs in wild colors, swirls, and patterns that look like they came straight out of an artist’s studio. While some premium discs come pre-dyed with stunning designs, many players are turning to DIY disc dyeing to personalize their gear and make their discs stand out. If you’ve ever wondered how to dye disc golf discs, you’re not alone. This hands-on, creative process allows players to customize their plastic with unique color combinations, revive faded discs, or even create matching sets for tournaments or gifts.
Dyeing disc golf discs is a surprisingly accessible project, requiring only a few basic supplies and some patience. Whether you’re aiming for a subtle gradient or a bold, psychedelic swirl, dyeing your discs at home can be a fun and rewarding experience. In this guide, you’ll learn the safe, effective methods for dyeing different types of disc plastics, the best dyes to use, and step-by-step instructions to achieve professional-looking results without damaging your discs.
Choose the Right Dye Type

Not all dyes work the same on disc golf plastic. The key to successful disc dyeing is selecting a dye that bonds with the specific polymer used in your discs. Using the wrong type can lead to uneven coloring, fading, or no absorption at all.
Use Rit Dye for Best Results
Rit Dye is the most widely used and recommended dye for disc golf disc customization. It’s water-soluble, affordable, and available in a wide range of colors. While Rit offers both liquid and powder forms, the powdered dye is preferred for disc dyeing because it’s more concentrated and produces deeper, more vibrant colors. Rit Dye works best on soft plastics, particularly those found in discs made by Innova, Discraft, and Gateway. However, it may not adhere well to harder or more chemically resistant plastics like those from Dynamic Discs or Westside unless pre-treated.
Pro Tip: Mix your own custom colors by combining Rit Dye powders. Try blending blue and yellow for a unique green, or red and purple for a deep maroon.
Avoid Food Coloring and Acrylic Paint
While food coloring might seem like a safe, accessible option, it does not bond well with disc plastic and typically results in faint, patchy color that washes off easily. Similarly, acrylic paint sits on the surface rather than penetrating the plastic, leading to a sticky, uneven finish that can affect flight characteristics. These materials are not recommended for long-lasting or functional disc dyeing.
Test Dye on a Junk Disc First
Before committing to a prized driver, always test your dye method on a beat-up or old disc. This helps you gauge color intensity, absorption time, and how the plastic reacts to heat and dye concentration. It also allows you to troubleshoot issues like blotchiness or streaking without ruining a high-performance disc.
Prepare Your Discs Properly
Proper preparation is essential for even dye absorption. Skipping cleaning or sanding steps can result in poor color uptake or a splotchy finish.
Clean Discs with Soap and Water
Start by washing each disc with warm water and mild dish soap to remove dirt, oils, and residues. Use a soft cloth or sponge to scrub both flight plates and the rim. Rinse thoroughly and let the disc air dry completely. Avoid using harsh chemicals or degreasers, as they can damage the plastic surface.
Lightly Sand for Better Absorption
For discs with a glossy or slick finish, lightly sand the surface with 400–600 grit sandpaper. This creates micro-abrasions that help the dye penetrate more evenly. Focus on the areas you want to dye most, usually the flight plate or rim. Wipe away sanding dust with a damp cloth and let dry before dyeing.
Remove Stickers and Residue
If your disc has manufacturer stickers or leftover adhesive, remove them before dyeing. Soak stubborn residue with rubbing alcohol or use a sticker remover product. Any leftover adhesive can block dye absorption and create uneven patches.
Use Heat to Activate Dye
Heat is a critical factor in the disc dyeing process. Most disc plastics require heat to open their pores and allow the dye to bond permanently.
Boil Water Before Adding Dye
Fill a heat-safe container like a stainless steel pot or glass bowl with boiling water. Use enough water to fully submerge the disc. Once boiling, stir in the Rit Dye powder until fully dissolved. A general ratio is 1–2 packets of dye per quart of water, depending on desired intensity.
Submerge Discs for 10–30 Minutes
Carefully place the disc into the hot dye bath using tongs. Let it soak for 10 to 30 minutes, depending on how deep you want the color. Soft plastics like Innova’s Pro or DX lines absorb dye quickly, so start checking at 10 minutes. Harder plastics may need longer or repeated dips.
Visual Cue: The water will begin to change color immediately. If the dye bath stays bright, your disc is absorbing well. If it fades quickly, you may need more dye or heat.
Maintain Water Temperature
Keep the water hot but not boiling continuously. If the temperature drops, place the container on a low stove burner or microwave in intervals to reheat. Consistent heat ensures even dye penetration.
Try Advanced Dyeing Techniques
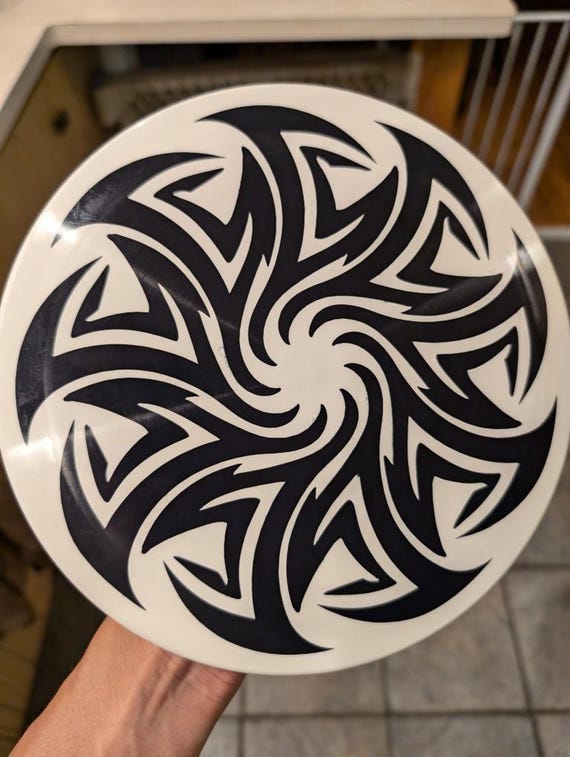
Once you’ve mastered the basics, experiment with creative methods to achieve unique effects.
Create Swirl Patterns with Stirring
While the disc is in the dye bath, gently stir the water in one direction with a wooden stick. This can create subtle swirls or marbling, especially when using multiple colors. For bolder effects, dip the disc halfway and swirl only one side.
Layer Colors for Depth
Achieve rich, multi-tonal results by dyeing in stages. Start with a light base color like yellow, let it dry, then dip into a darker color like red for an ombre or two-tone effect. Allow the disc to dry completely between layers.
Use Tape for Custom Designs
Apply painter’s tape or vinyl stencils to protect certain areas of the disc before dyeing. This lets you create clean lines, logos, or geometric patterns. Remove the tape carefully after the disc cools and rinse off any dye residue.
Rinse and Dry Correctly
Improper rinsing or drying can ruin your results or leave dye on your hands and surfaces.
Rinse with Cool Water
After dyeing, remove the disc with tongs and rinse under cool running water until the runoff is clear. This stops the dye process and removes excess color. Avoid hot water during rinsing, as it can cause the plastic to warp.
Air Dry for 24 Hours
Place the disc on a drying rack or clean towel in a well-ventilated area. Let it air dry for at least 24 hours before handling or throwing. Do not use a hairdryer or heater, as rapid drying can cause cracking or fading.
Seal (Optional) for Protection
While not required, some players apply a clear matte sealant to protect the dye job, especially for outdoor use. Use a plastic-safe spray sealant and apply in a thin, even coat. Test on a small area first to ensure it doesn’t affect grip or flight.
Know Which Discs to Avoid
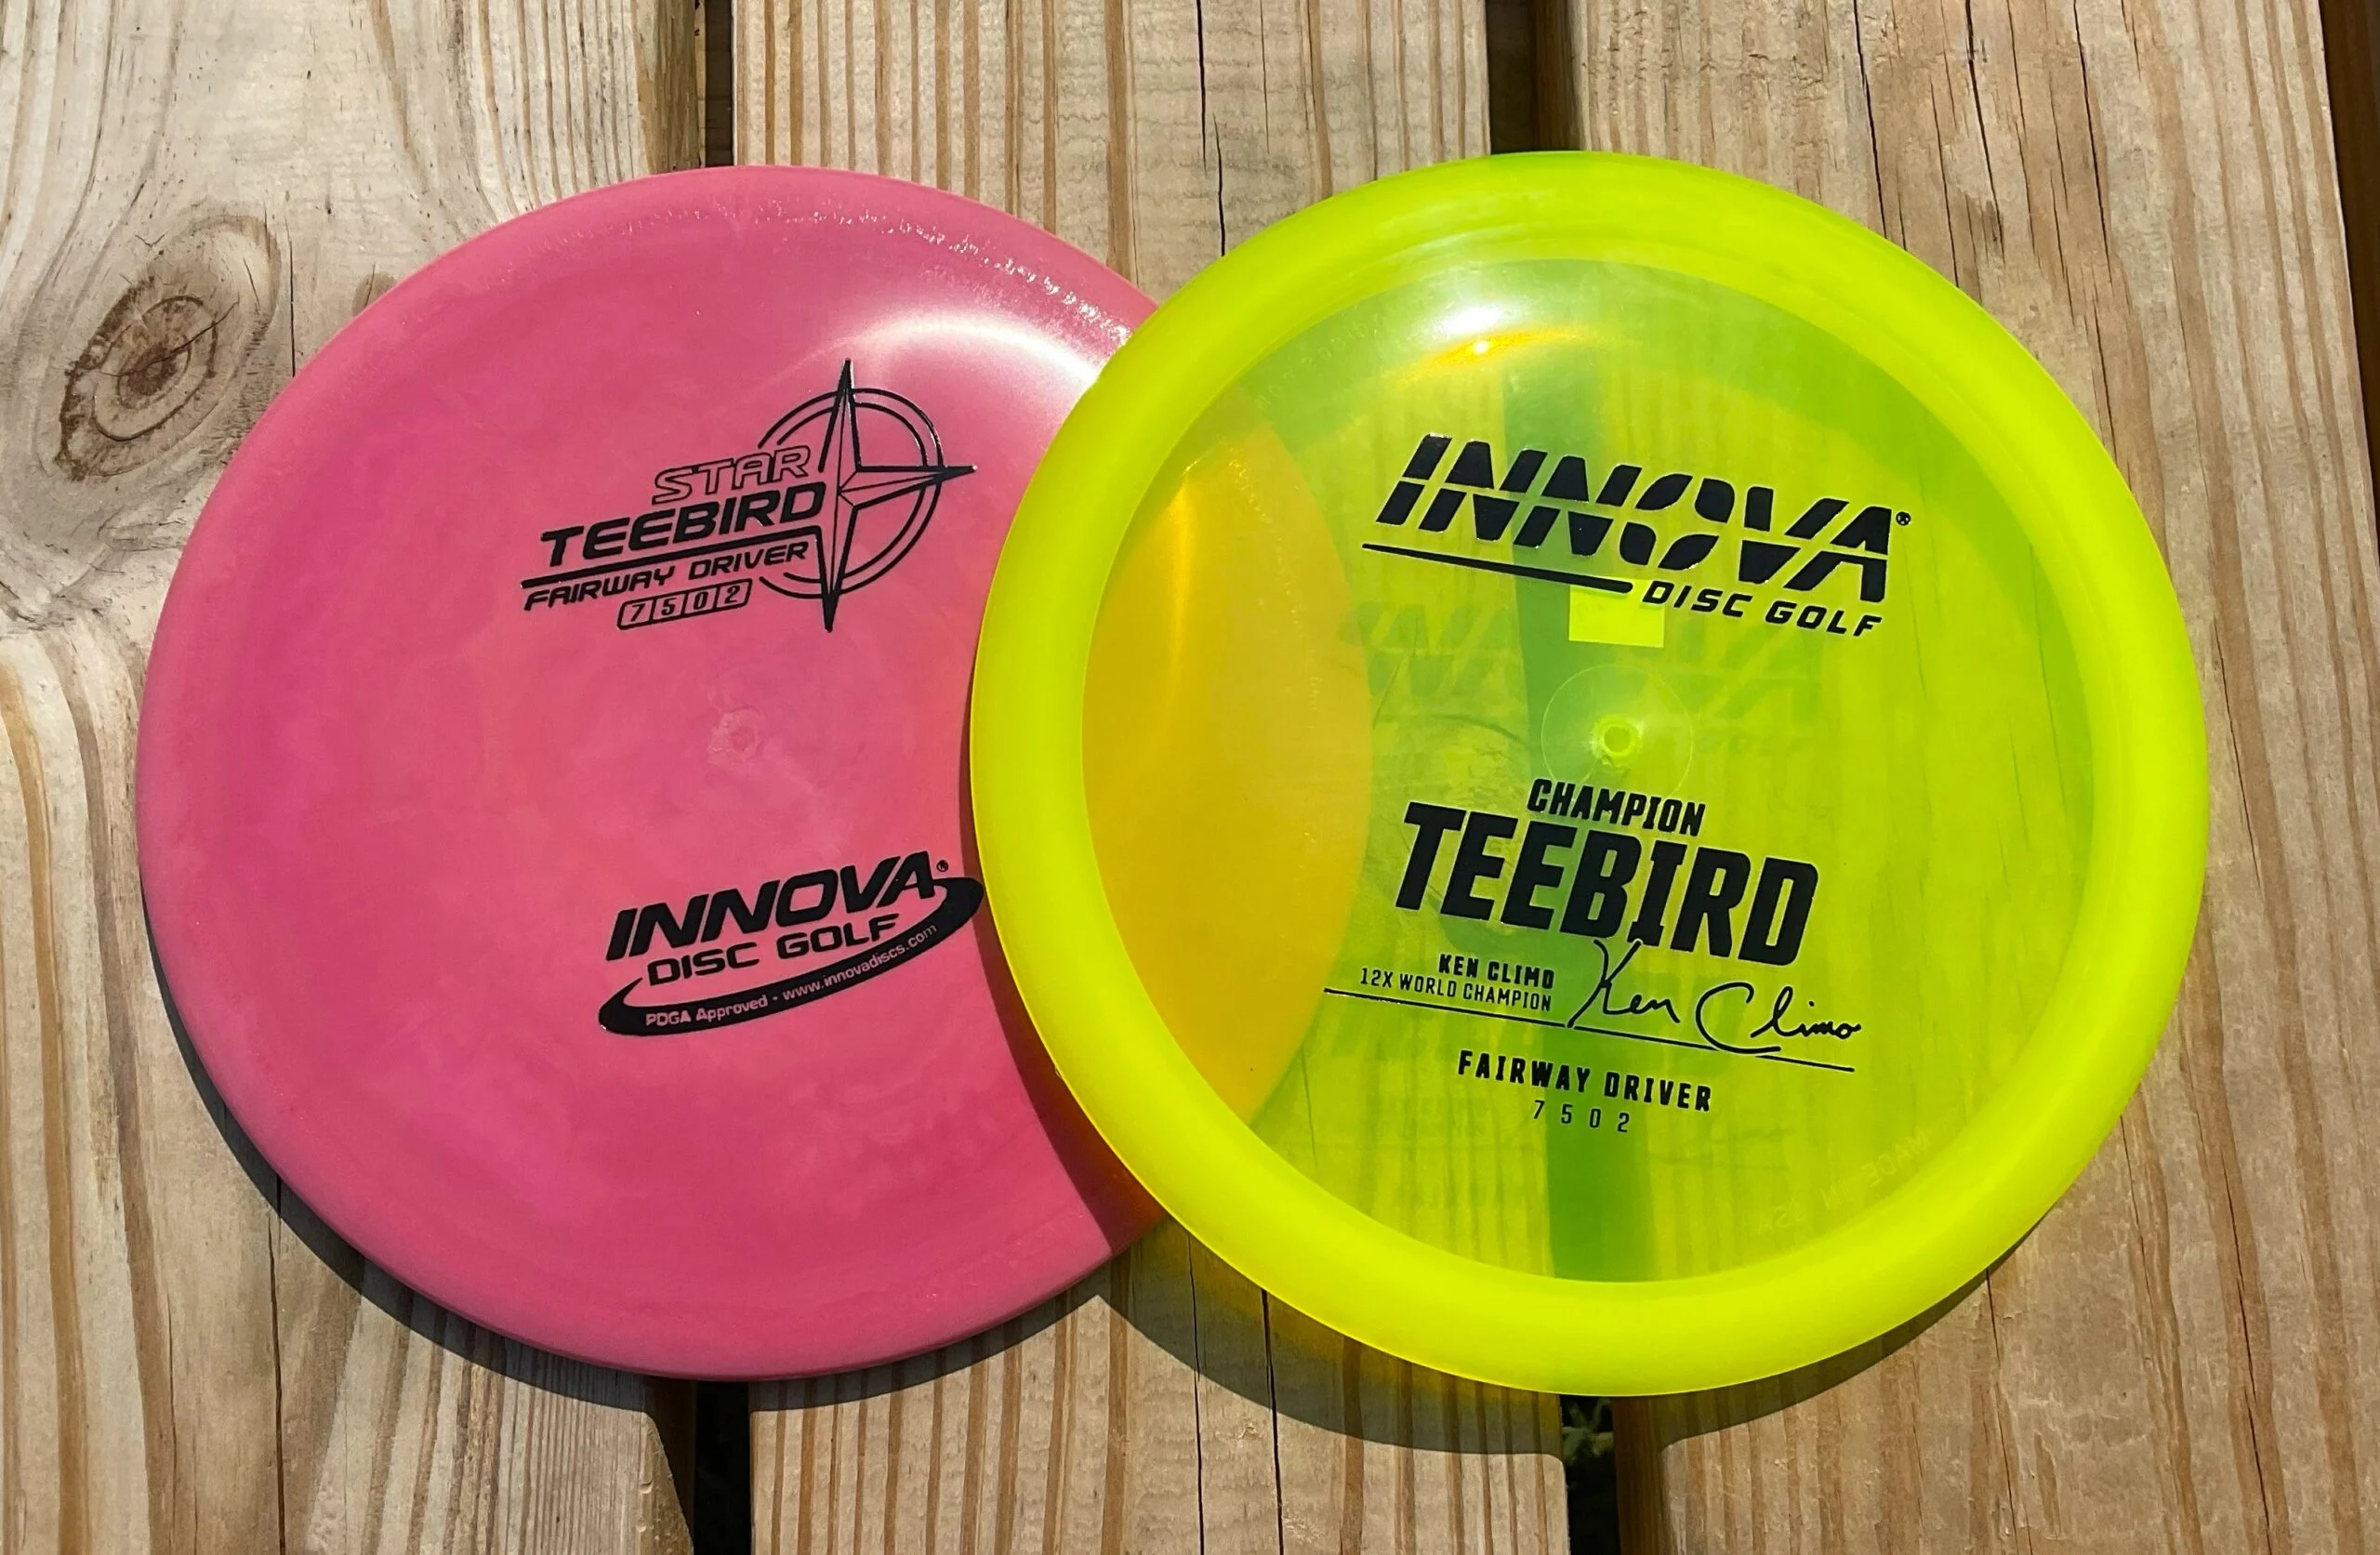
Not all discs are good candidates for dyeing. Choosing the wrong plastic can lead to disappointment or wasted effort.
Avoid Star, Champion, or Glow Plastics
Innova Star, Champion, and Glow plastics are highly durable but resistant to dye absorption due to their dense, additive-rich composition. These discs may only take on a faint tint, even after prolonged soaking. DX and Pro plastics are much better choices for beginners.
Skip Overmolded or Multi-Layer Discs
Discs with different colored rims and flight plates like two-tone drivers may absorb dye unevenly, leading to mismatched colors or visible seams. The bonding layer between plastics can also weaken under heat.
Don’t Dye Used or Cracked Discs
Discs with fleas, cracks, or deep scratches can absorb dye unevenly and may warp during the hot soak. Additionally, dye can seep into micro-fractures and become impossible to clean out, affecting hygiene and grip.
Maintain Your Dyed Discs
Once your discs are dyed, a little care goes a long way in preserving the color and integrity.
Hand Wash Only
Never put dyed discs in a dishwasher or soak them in hot water for cleaning. Instead, wipe with a damp cloth and mild soap after use. Avoid abrasive scrubbers that can wear down the dyed surface.
Store Away from Sunlight
Prolonged exposure to direct sunlight can cause dyed plastics to fade over time. Store your custom discs in a cool, dark place, like a bag or case, to maintain vibrancy.
Re-Dye if Needed
If the color fades after months of play, you can re-dye the disc using the same process. Lightly sand the surface first to remove any surface wear, then repeat the dye bath steps.
Frequently Asked Questions About Disc Dyeing
What kind of dye works best for disc golf discs?
Rit Dye, especially in powder form, is the most effective and widely recommended option for dyeing disc golf discs. It bonds well with soft plastics from brands like Innova, Discraft, and Gateway. Avoid food coloring or acrylic paint, as these do not penetrate the plastic and tend to fade quickly.
Can I dye Champion or Star plastic discs?
Dyeing Champion or Star plastic discs is difficult because these plastics contain additives that resist dye absorption. Even extended soaking typically results in only a faint tint. For best results, stick with DX or Pro plastic discs.
How long should I leave my disc in the dye bath?
Most soft plastic discs need 10 to 30 minutes in a hot dye bath for good color absorption. Check the disc at the 10-minute mark and continue soaking if you want a deeper shade. Harder plastics may require longer or repeated dips.
Is it safe to dye discs at home?
Yes, dyeing discs at home is safe as long as you work in a ventilated area, handle hot water carefully with tongs, and avoid ingesting any dye materials. Wear gloves to prevent staining your hands and protect your work surface with newspaper or a plastic sheet.
Will dyeing a disc change how it flies?
When done correctly, dyeing should not significantly affect a disc’s flight characteristics. However, acrylic paint or thick coatings can add weight or alter the surface texture, so stick with dye-only methods to preserve performance.
Can I dye over an existing stamp or logo?
Yes, you can dye over stamps and logos, though the dye may not penetrate the ink evenly. To preserve specific designs, cover them with painter’s tape or vinyl stencils before submerging the disc.
Key Takeaways for Dyeing Disc Golf Discs
Dyeing disc golf discs is a creative, cost-effective way to personalize your bag and express your style on the course. Focus on using Rit Dye powder for vibrant, long-lasting results on soft plastics like DX and Pro. Always prep your discs with a thorough cleaning and light sanding, then use consistent heat to help the dye bond properly. Avoid dyeing Star, Champion, Glow, or damaged discs to prevent wasted effort.
Start small by experimenting on an old disc, then graduate to your favorites once you’ve mastered the technique. With patience and practice, you’ll soon be crafting custom sets that turn heads on every fairway.