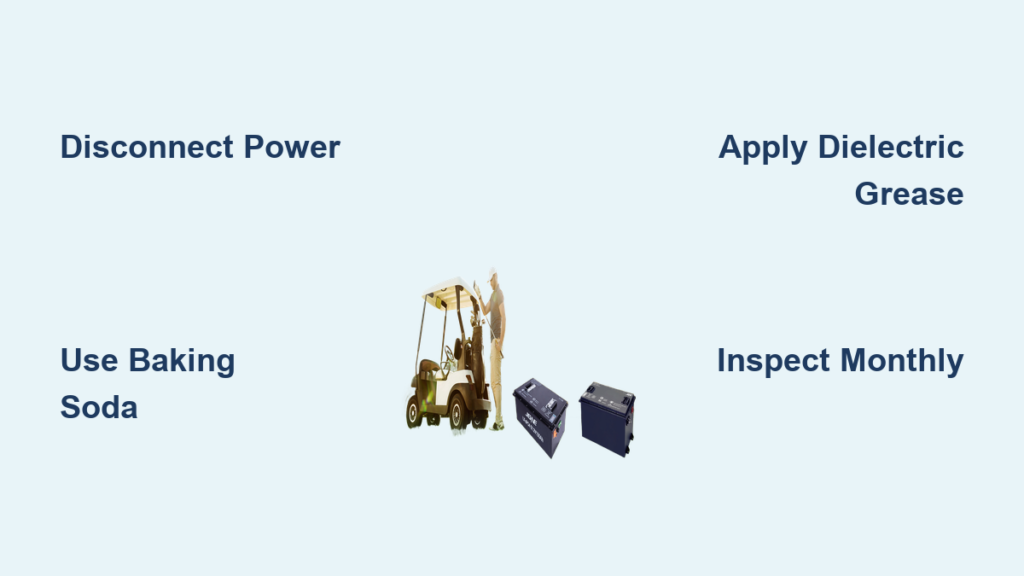
If your golf cart struggles to hold a charge or starts sluggishly, dirty battery terminals may be draining its performance. Corrosion, dust, and moisture accumulate over time, especially in humid or outdoor environments. This buildup reduces electrical conductivity and shortens battery life. Learning how to clean golf cart batteries is a straightforward maintenance task that restores power and prevents costly replacements. This guide covers step-by-step cleaning methods, safe solutions, and expert tips to keep your battery compartment in peak condition year-round.
Prepare for Safe Cleaning Before You Start
Golf cart batteries store high voltage and emit flammable hydrogen gas during charging. Skipping safety steps can result in shocks, chemical burns, or even explosions.
Disconnect the Battery Power
Turn off the cart completely and remove the key. Use a wrench to disconnect the negative (black) terminal first, followed by the positive (red) terminal. This order prevents accidental short-circuiting if your tool contacts the frame. Most golf cart terminals require a ½ inch or 8mm wrench.
Wear Protective Gear
Put on rubber gloves and safety goggles to shield your skin and eyes from acid splashes. Work outdoors or in a garage with the door open to disperse fumes from cleaning agents and battery gases.
Gather Your Cleaning Supplies
Assemble these tools before starting:
– Baking soda and distilled water
– White vinegar (for stubborn buildup)
– An old toothbrush or soft-bristle brush
– Microfiber cloths
– A spray bottle
– Dielectric grease
– Rubber terminal covers
Avoid steel wool or metal brushes. These scratch terminal surfaces and actually accelerate corrosion.
Inspect the Batteries and Compartment Thoroughly

A quick visual check reveals whether you need a light cleaning or a deeper intervention.
Identify Corrosion on Terminals
Look for white, blue, or greenish crusty deposits around the terminals. This is potassium carbonate forming from battery acid vapor reacting with metal. Heavy buildup blocks electrical flow and causes starting problems.
Check for Cracks and Leaks
Examine each battery case for bulges, cracks, or wet residue near the base. If you spot leaking fluid, stop the inspection. A damaged battery should be replaced rather than cleaned.
Clear Loose Debris from the Tray
Use a flashlight to inspect the battery tray. Remove leaves, dirt, and metal fragments with a soft brush or compressed air. Debris can trap moisture or create unintended electrical paths between terminals.
Remove Corrosion with Proven Cleaning Solutions
With safety steps complete, focus on dissolving the corrosive buildup using gentle, effective agents.
Apply a Baking Soda Paste
Mix one tablespoon of baking soda with one cup of water to create a neutralizing solution. Dip an old toothbrush into the mixture and scrub each terminal thoroughly. You will see fizzing as the alkaline solution reacts with acidic residue.
Pro Tip: Concentrate on the contact points where cables meet posts. Even thin corrosion layers here reduce power transfer significantly.
After scrubbing, wipe the terminals with a slightly damp microfiber cloth. Never pour the baking soda solution directly onto the battery, as it can seep into cell vents and damage internal components.
Use Vinegar for Stubborn Buildup
When baking soda does not fully dissolve heavy deposits, switch to white vinegar. Apply undiluted vinegar to a cloth or brush and coat the corroded areas. Let it sit for two to three minutes, then scrub gently and rinse with a damp cloth.
⚠️ Warning: Never mix vinegar and baking soda on the same terminal. They neutralize each other and cancel out their cleaning power.
Dry Every Surface Completely
Moisture left on terminals can restart corrosion within days. After rinsing, wipe all surfaces with a dry towel. For best results, use a hairdryer on low heat or let the compartment air-dry in sunlight for 15 to 20 minutes before reconnecting power.
Reconnect Terminals and Add Protective Layers
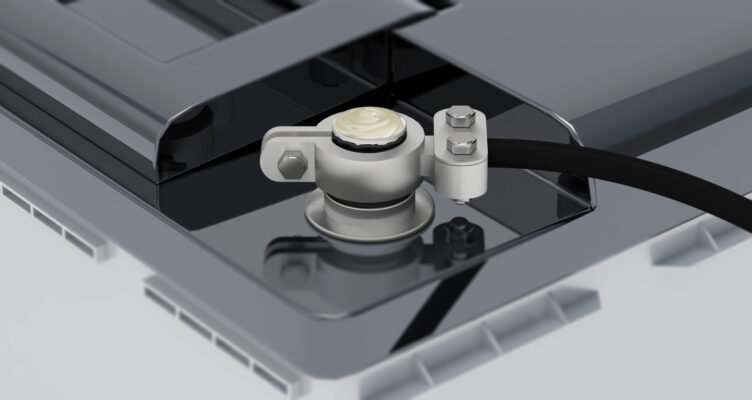
Restoring proper connections and sealing out moisture ensures your cleaning lasts longer.
Reattach Cables in the Correct Order
Reconnect the positive (red) terminal first, then the negative (black) terminal. Tighten the nuts firmly so cables do not wiggle, but avoid over-tightening, which can strip threads or crack the lead posts.
Apply Dielectric Grease
Coat both terminals with a thin layer of dielectric grease. This non-conductive silicone-based lubricant blocks moisture and oxygen, dramatically slowing future corrosion. Petroleum jelly works as a budget alternative, but dielectric grease withstands heat better and lasts longer.
✅ User Tip: “I spray a light coat of dielectric grease on the terminals after cleaning. It helps prevent future corrosion.” — CartTechPro
Install Rubber Terminal Covers
Slide rubber or plastic protective boots over each terminal. These inexpensive covers shield connections from dust, water splashes, and accidental contact. Confirm they fit snugly without straining the cables.
Maintain a Clean Battery Compartment Long-Term
Consistent upkeep prevents major corrosion issues and keeps your cart running smoothly season after season.
Schedule Monthly Visual Inspections
Check the battery compartment every four to six weeks, especially after rainstorms or heavy use. Look for new corrosion, confirm cables stay tight, and remove any debris that entered the tray.
✅ User Tip: “I clean it every 6 weeks. No more corrosion issues.” — User123
Seal Out Moisture While Preserving Ventilation
Apply waterproof compartment covers or silicone sealant around entry points to block rain and dust. However, never seal the ventilation holes. Batteries release hydrogen gas during charging and need airflow to prevent dangerous pressure buildup.
Blow Out Dust Between Deep Cleanings
Use compressed air every few weeks to remove dust before it mixes with moisture and forms conductive sludge. Hold the can upright and use short bursts to avoid spraying propellant into the compartment.
Troubleshoot Common Problems After Cleaning
Sometimes issues persist even after careful cleaning. Here is how to diagnose and resolve them.
The Cart Has No Power After Reconnection
If the cart does not start, check these items first:
– Confirm cables are tight and fully seated on the posts
– Verify you connected positive before negative
– Inspect inline fuses near the battery pack
A loose ground wire or blown fuse is often the real culprit, not the cleaning itself.
Corrosion Keeps Returning Quickly
Frequent buildup suggests an underlying issue:
– The charger may be overcharging the batteries
– Older batteries vent more acid vapor
– Terminal grease or covers may be missing
Consider upgrading to AGM (Absorbent Glass Mat) batteries. These sealed units vent far less gas than traditional flooded lead-acid batteries.
Fizzing Continues After Cleaning
Persistent fizzing means active acid leakage. Inspect the battery case for hairline cracks. A continuously leaking battery must be replaced immediately to prevent damage to the tray and surrounding components.
Extend Battery Life with Smart Usage Habits
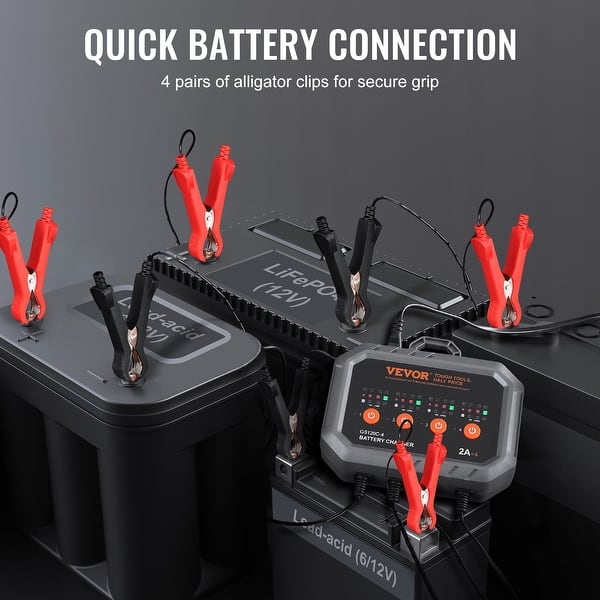
Cleaning matters most when paired with proper charging and storage routines.
Charge Consistently After Every Use
Recharge the batteries after each ride, even short ones. Letting batteries sit at low charge for days causes permanent capacity loss. Use an automatic smart charger designed for deep-cycle golf cart batteries to prevent overcharging.
Store Batteries Correctly During Off-Season
Before long-term storage:
– Charge batteries to 100 percent
– Disconnect cables to stop parasitic drain
– Store in a cool, dry location
– Recharge every four to six weeks
Cold weather alone does not kill batteries. Prolonged discharge does.
Know When Replacement Is Necessary
Most golf cart batteries last four to seven years with proper care. Watch for these warning signs:
– Runtime drops despite a full charge
– The casing appears swollen or cracked
– Voltage falls below 12V under load
– You must add water more often than usual
Invest in OEM or high-quality aftermarket replacements. Cheap batteries cost more over time through frequent replacements and poor performance.
Frequently Asked Questions About Cleaning Golf Cart Batteries
What is the best solution to clean golf cart battery terminals?
A baking soda and water paste is the safest and most effective option. Mix one tablespoon of baking soda with one cup of water, apply with a toothbrush, and scrub away corrosion. The mild alkaline solution neutralizes acidic residue without damaging the terminals.
Can I use vinegar to clean golf cart batteries?
Yes. White vinegar works well for stubborn corrosion. Apply it with a cloth, let it sit for two to three minutes, then scrub and rinse. Never mix vinegar with baking soda on the battery, as they neutralize each other.
How often should I clean my golf cart batteries?
Inspect the battery compartment every four to six weeks. Deep clean the terminals whenever you see visible corrosion buildup or notice reduced performance. Golf carts used in humid or coastal environments may need more frequent cleaning.
Is it safe to clean batteries without removing them?
You can clean terminals without removing the batteries as long as you disconnect the cables first and avoid getting cleaning solutions inside the cells. For heavy corrosion or leaks, removing the batteries allows a more thorough cleaning of the tray underneath.
What should I do if my battery is leaking during cleaning?
Stop immediately and avoid direct contact with the fluid. Leaking batteries indicate internal damage and should be replaced. Clean any spilled acid with baking soda paste and dispose of the damaged battery according to local hazardous waste regulations.
Does dielectric grease really prevent corrosion?
Yes. Dielectric grease creates a moisture-resistant barrier over the terminals without conducting electricity. It is one of the most effective ways to extend the time between cleanings and protect connections from environmental damage.
Key Takeaways for Cleaning Golf Cart Batteries the Right Way
Maintaining clean battery terminals is one of the simplest ways to boost performance and extend battery life. Always disconnect power, wear protective gear, and work in a ventilated area before starting. Use a baking soda paste for routine cleaning and white vinegar for stubborn corrosion. Dry every surface thoroughly, then protect the terminals with dielectric grease and rubber covers.
Pair your cleaning routine with monthly inspections, proper charging habits, and seasonal storage best practices. Your next step: gather your supplies and schedule a battery cleaning this weekend. Your golf cart will start faster, run longer, and stay reliable for years to come.