You walk off the 18th green, peel off your cap, and notice the familiar ring of sweat darkening the brim. Sound familiar? A dirty golf cap is more than an eyesore; it traps bacteria, dulls logos, and shortens the life of a hat you rely on every round. Learning how to clean a golf cap properly saves you money, keeps your gear looking sharp, and protects anything stitched or signed on it.
The best method depends on your cap’s color, material, and whether it carries an autograph. Below you’ll find field-tested techniques for every situation, plus expert tips on drying, stain prevention, and when to call in a professional.
Hand Wash with Dish Soap
The sink-and-soap method is the gold standard for at-home cap care. It’s gentle enough for daily use but tough on sweat and grime.
Use Warm Water and Dawn Dish Soap
Fill a sink with warm (not hot) water and add a small squeeze of basic dish soap. Dawn earns frequent praise for cutting through sweat oils quickly. Swirl until sudsy, then submerge your cap and let it soak for 5–10 minutes.
Scrub Stains with a Soft Brush
Grab a soft-bristled brush or an old toothbrush. Focus on the sweatband, forehead panel, and sides where oils build up. For white caps, a Magic Eraser lifts the most stubborn discoloration without harming the fabric. Skip aggressive scrubbing on embroidered logos.
Rinse and Air Dry Properly
Rinse under cool running water until every trace of soap disappears. Gently squeeze (don’t twist) to remove moisture. Place the cap on a door knob or hat form to dry in indirect sunlight.
Shampoo Method for Sweat Stains
Sweat contains the same oils that shampoo is designed to remove from hair, which makes it a surprisingly perfect cleaning agent for caps.
Apply Shampoo Like You’re Washing Hair
Wet the cap completely under a faucet. Rub a dime-sized amount of shampoo (Head & Shoulders is a common pick) between your palms and massage it into the crown and sweatband. Let it sit for 2–3 minutes to break down body oils.
Rinse and Dry Without Heat
Rinse thoroughly under cool water. Residual shampoo attracts dirt, so make sure every bubble is gone. Air dry on a hat rack or balanced over a coffee mug to keep the brim curved. Skip the hair dryer; heat warps plastic brims.
Try the Vinegar Solution
White vinegar neutralizes bacteria and tackles discoloration that soap alone can’t touch.
Mix 50/50 White Vinegar and Water
Combine equal parts white vinegar and water in a bowl or sink. Submerge the cap for 15–30 minutes. The mild acidity breaks down grime without harming most fabrics.
Gently Scrub and Rinse
After soaking, use a soft brush on any remaining marks. Rinse well with cool water; the vinegar scent fades as the cap dries. Air dry using your usual method.
Use OxiClean for Tough Stains
When yellowed brims and set-in stains won’t budge, OxiClean is your heavy-duty option.
Soak in OxiClean Solution
Mix OxiClean with warm water per package directions. Submerge the cap for 30 minutes to 6 hours, depending on how severe the staining is. Light stains often lift in under an hour.
Spot Clean with a Toothbrush
While soaking, work a toothbrush gently across stained areas, especially along the sweatband. After the soak, rinse thoroughly and air dry in the sun. UV rays boost the whitening effect.
Machine Wash Safely

Short on time? Your washing machine can do the job, but only with the right precautions.
Pre-Treat Stains First
Apply a stain remover like Shout, Spray’n Wash, or Dawn Powerwash directly to visible marks. Let it sit for 5–10 minutes so it can penetrate the fabric before the cycle starts.
Use a Hat Frame or Cage
Never toss a cap loose into the washer. A hat cage (sometimes called a “cap buddy”) holds the shape rigid during agitation. Use one hat per half of a rack-style frame.
Wash on Gentle Cycle
Select the gentle or delicate cycle with cold or warm water. Use standard detergent, adding OxiClean only for white caps. Avoid regular bleach entirely; use color-safe bleach sparingly on white hats only.
Air Dry—Never Machine Dry
Remove the cap from its frame right after the cycle ends. Air dry on a door knob or atop the dryer. Machine drying shrinks fabric and melts synthetic brims.
Dishwasher Cleaning Hack
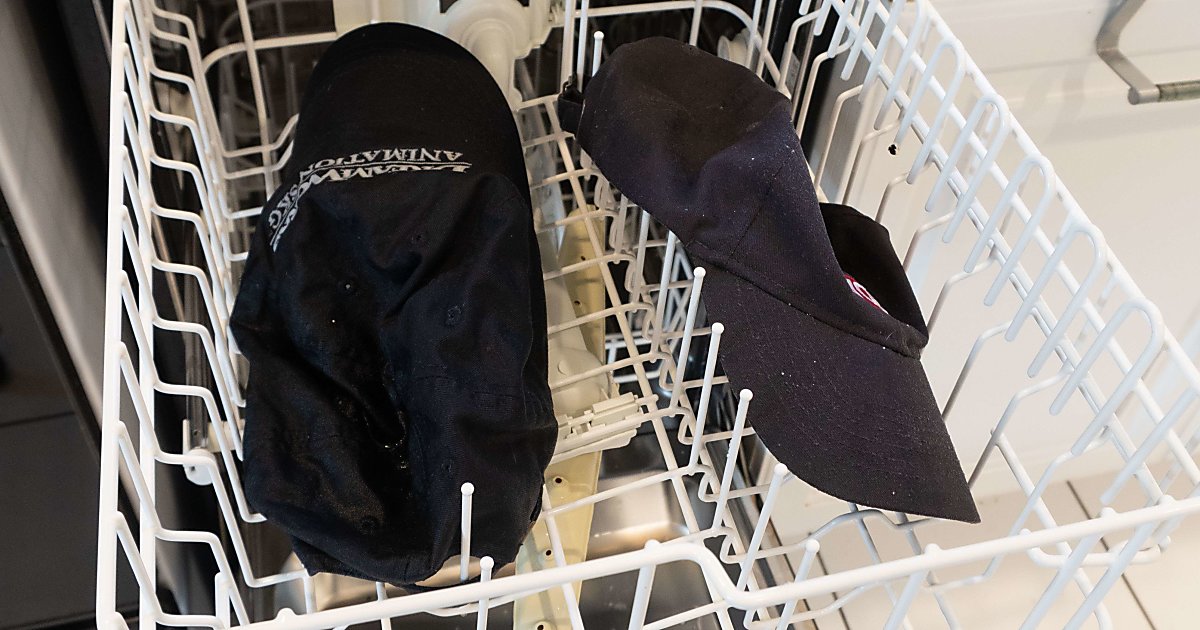
It sounds odd, but many golfers (especially in hot, humid climates) swear by running caps through the dishwasher.
Load Hats in Top Rack
Place caps upside down in a clean, empty dishwasher’s top rack. Don’t stack or crowd them. A squirt of normal dish soap is all you need.
Run a Normal Cycle
Select a standard wash cycle (not heavy-duty). The combination of water pressure and mild detergent blasts away sweat and grime. Some users pre-treat with Shout or Spray’n Wash for extra power.
Dry in Sunlight
Remove caps once the cycle ends and air dry outside. Sunlight brightens white hats naturally, but repeated dishwasher runs may fade logos over time, especially on colored or embroidered designs.
Shower Cleaning Shortcut
The fastest refresh requires no extra effort; just clean your cap while you clean yourself.
Lather with Shampoo
Hop in the shower wearing your cap, or wet it under the stream. Apply shampoo to your hands and work it into the fabric, paying attention to the interior band. Let it sit for a minute.
Rinse and Dry Naturally
Rinse thoroughly under running water. Squeeze out excess moisture and set the cap on your shower caddy or towel rack to dry. This method works best for light soiling and routine maintenance.
Spray Bottle Deep Clean
For older, heavily soiled caps, the spray bottle method targets grime without a full soak.
Mix 50/50 Simple Green and Water
Fill a spray bottle with equal parts Simple Green and water. Saturate the cap completely and let it sit for about 10 minutes to loosen oils.
Rinse Until Water Runs Clear
Hose the cap down or rinse under a faucet until the runoff is clear. Air dry on a rack or over a rounded container to preserve the crown shape.
Dry Clean Valuable Caps
For signed, vintage, or irreplaceable memorabilia, home cleaning is a gamble. Professional dry cleaning is the safer bet.
Why Dry Cleaning Is Best
Dry cleaners use water-free solvents that remove oils and stains without soaking the fabric. This protects autographs, delicate embroidery, and specialty materials.
When to Avoid DIY Cleaning
If the signature ink isn’t confirmed waterproof, don’t attempt home cleaning. Water can cause bleeding or smudging that can’t be reversed.
Protect Signatures During Cleaning
If you must clean a signed cap at home, shield the autograph first.
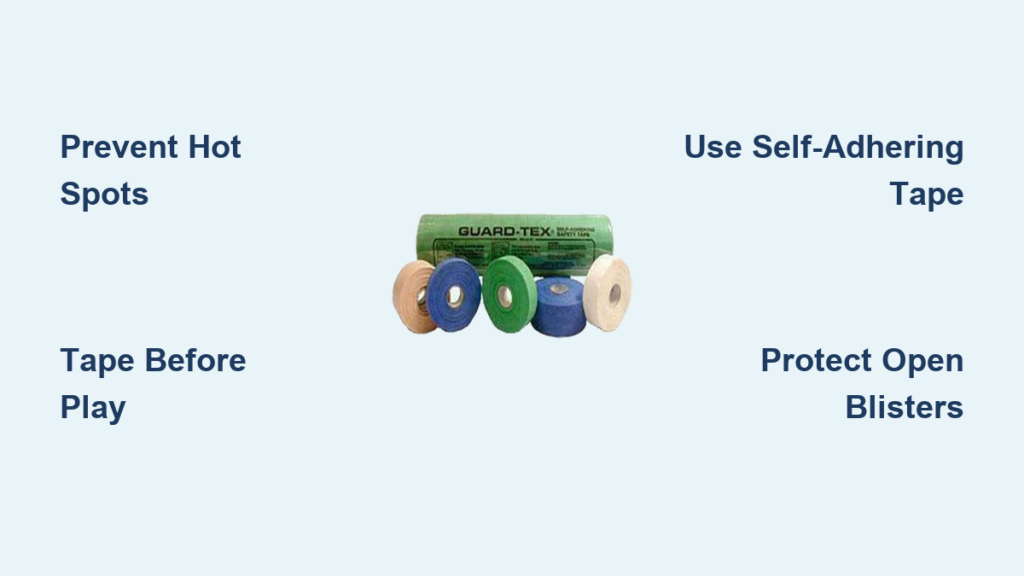
Cover with Tape
Use duct tape or masking tape to completely cover the signature. Leave a small border around the edges so moisture can’t wick underneath.
Hand Wash Around the Area
Dip only the unstained portions into soapy water. Use a soft brush on the crown and sides, steering clear of the taped zone. Rinse carefully and air dry upright.
Prevent Future Stains
Stopping sweat before it soaks in is easier than removing it later.
Use Hat Saver Spray
Hat Saver is a sweat-repellent spray designed for new caps. Apply it before your first wear to create a barrier against oils and moisture. It won’t reverse existing stains, only prevent new ones.
Act Immediately After Play
Wipe down your cap right after a round. Fresh sweat wipes away easily, while dried sweat can bleach fabric and become permanent.
Store in Shade
UV rays fade colors over time, even after cleaning. Keep caps in a cool, dry spot away from direct sunlight when you’re not wearing them.
Dry Hats the Right Way
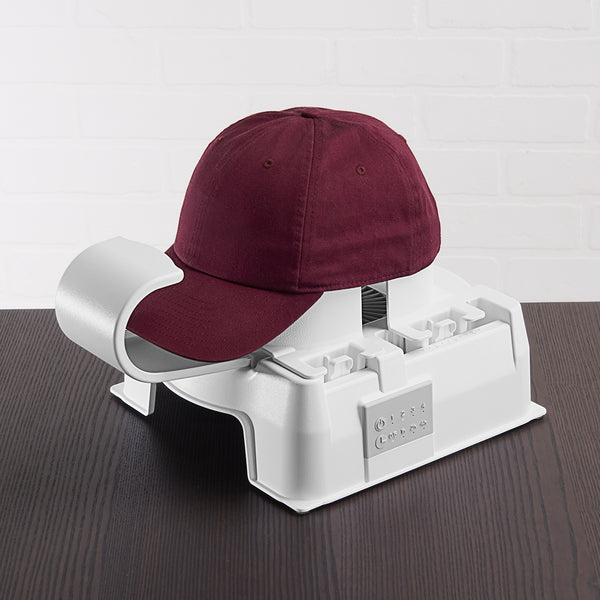
Bad drying habits destroy more caps than bad cleaning.
Air Dry Only—No Exceptions
Skip the dryer, hair dryer, and heater vents. Heat warps plastic brims and shrinks fabric.
Use a Door Knob or Hat Form
Balance the cap on a door knob, hat rack, or a rounded object like a coffee can. This maintains the dome and brim curve while drying.
Sun Drying Whitens White Caps
For white hats, direct sunlight acts as a natural bleach. But limit exposure; prolonged UV fades colored logos and stitching.
Avoid These Mistakes
Even with the right technique, small errors can ruin your cap.
Never Use Regular Bleach
Regular bleach breaks down fabric fibers and strips color. Only use color-safe bleach on white caps, and use it sparingly.
Don’t Skip the Hat Frame in the Washer
Without structural support, caps get crushed or misshapen in the wash. Always use a hat cage.
Don’t Ignore Brim Staining
Once sweat soaks deep into the brim material, stains often reappear after one wear. At that point, the cap may be past saving.
Know Your Cap Type
Different hats respond better to different methods.
White Caps: Use OxiClean and Sun
White hats show every stain but also respond best to aggressive cleaning. Combine dish soap, OxiClean, and sun drying for a like-new look. Yellow tints disappear with proper soaking.
Dark Caps: Dishwasher Works Well
Black and navy caps hide sweat better but still need cleaning. The dishwasher method is especially effective on these colors, removing grime without fading fabric.
Colored or Lucky Caps: Gentle Cycle Only
Green, red, and special edition caps need a gentler touch. Wash on a gentle cycle with mild detergent and a hat frame; skip the bleach entirely.
Signed or Collectible Caps: Dry Clean Only
Treat autographed caps like artwork. Water, scrubbing, and home machines risk irreversible damage. When in doubt, hand it to a professional.
Final Tips for Longevity
With the right care, a golf cap can easily last three years or more.
Test Methods First
Try any new technique on an old or inexpensive cap first. This reveals risks like fading or warping before you risk a favorite.
Wash Two at a Time
A half-rack hat frame lets you clean two caps in one load, saving time and water.
Combine Cleaning with Routine
Shower with your cap on or toss it in with a regular laundry load inside a cage. Make maintenance effortless by piggybacking on habits you already have.
Replace When the Brim Is Stained
If the front brim is permanently yellowed or streaked, no cleaning method will restore it. Retire the cap and start fresh.
Frequently Asked Questions About Cleaning Golf Caps
Can I wash a golf cap in the dishwasher?
Yes. Place caps upside down in the top rack of a clean, empty dishwasher with normal dish soap and run a standard cycle. Air dry afterward. Repeated runs may fade logos over time, especially on colored embroidery.
How do I remove yellow stains from a white hat brim?
Soak the cap in an OxiClean solution for 1–6 hours, depending on stain severity. Rinse thoroughly and dry in direct sunlight; UV rays boost the whitening effect. Color-safe bleach also works for stubborn yellowing.
Is it safe to machine wash a golf cap?
Yes, if you use a hat cage to maintain shape, select a gentle cycle, and air dry afterward. Never put a cap in the dryer; heat warps the brim and shrinks fabric.
Can I clean a signed golf cap at home?
Only if the signature ink is confirmed waterproof. Cover the autograph with duct or masking tape, leave a small border, and hand wash around the area only. If you’re unsure about the ink, skip DIY cleaning entirely and use a professional dry cleaner.
What removes sweat stains from a hat?
Shampoo is highly effective because it targets the same oils found in sweat. Dish soap, vinegar solutions, and pre-treatment sprays like Shout also work well. Treat stains immediately after playing; dried sweat is much harder to remove.
How long should a golf cap last with regular cleaning?
With proper care, most caps last three or more years. White caps may need retirement once the brim becomes permanently stained, while colored and dark caps can last much longer with consistent cleaning.
Final Takeaways for a Cleaner Golf Cap
The core rules are simple: skip the dryer, match the method to your cap type, and act fast on fresh stains. Dish soap and warm water handle most everyday cleaning, while OxiClean and vinegar tackle tougher jobs. For signed or memorabilia caps, leave it to a professional unless you’re certain the ink is waterproof.
Start with a basic hand wash on your next dirty cap, see how it responds, and adjust your routine from there.