If your Grip It Golf club isn’t performing like it used to, whether the grip feels loose, the shaft wobbles, or you’re losing control mid-swing, it might be time for a repair. Many golfers overlook simple maintenance that can restore their club’s performance without buying a replacement. Grip It Golf products are designed for durability, but regular use, moisture, and temperature changes take a toll. Most issues can be fixed at home with basic tools and a little know-how.
In this guide, you’ll learn how to diagnose and repair common problems with your Grip It Golf clubs, from regripping to shaft stabilization. You’ll also learn the tools you need, pro tips, and when it makes sense to call a professional.
Essential Repair Tools for Grip It Golf Clubs
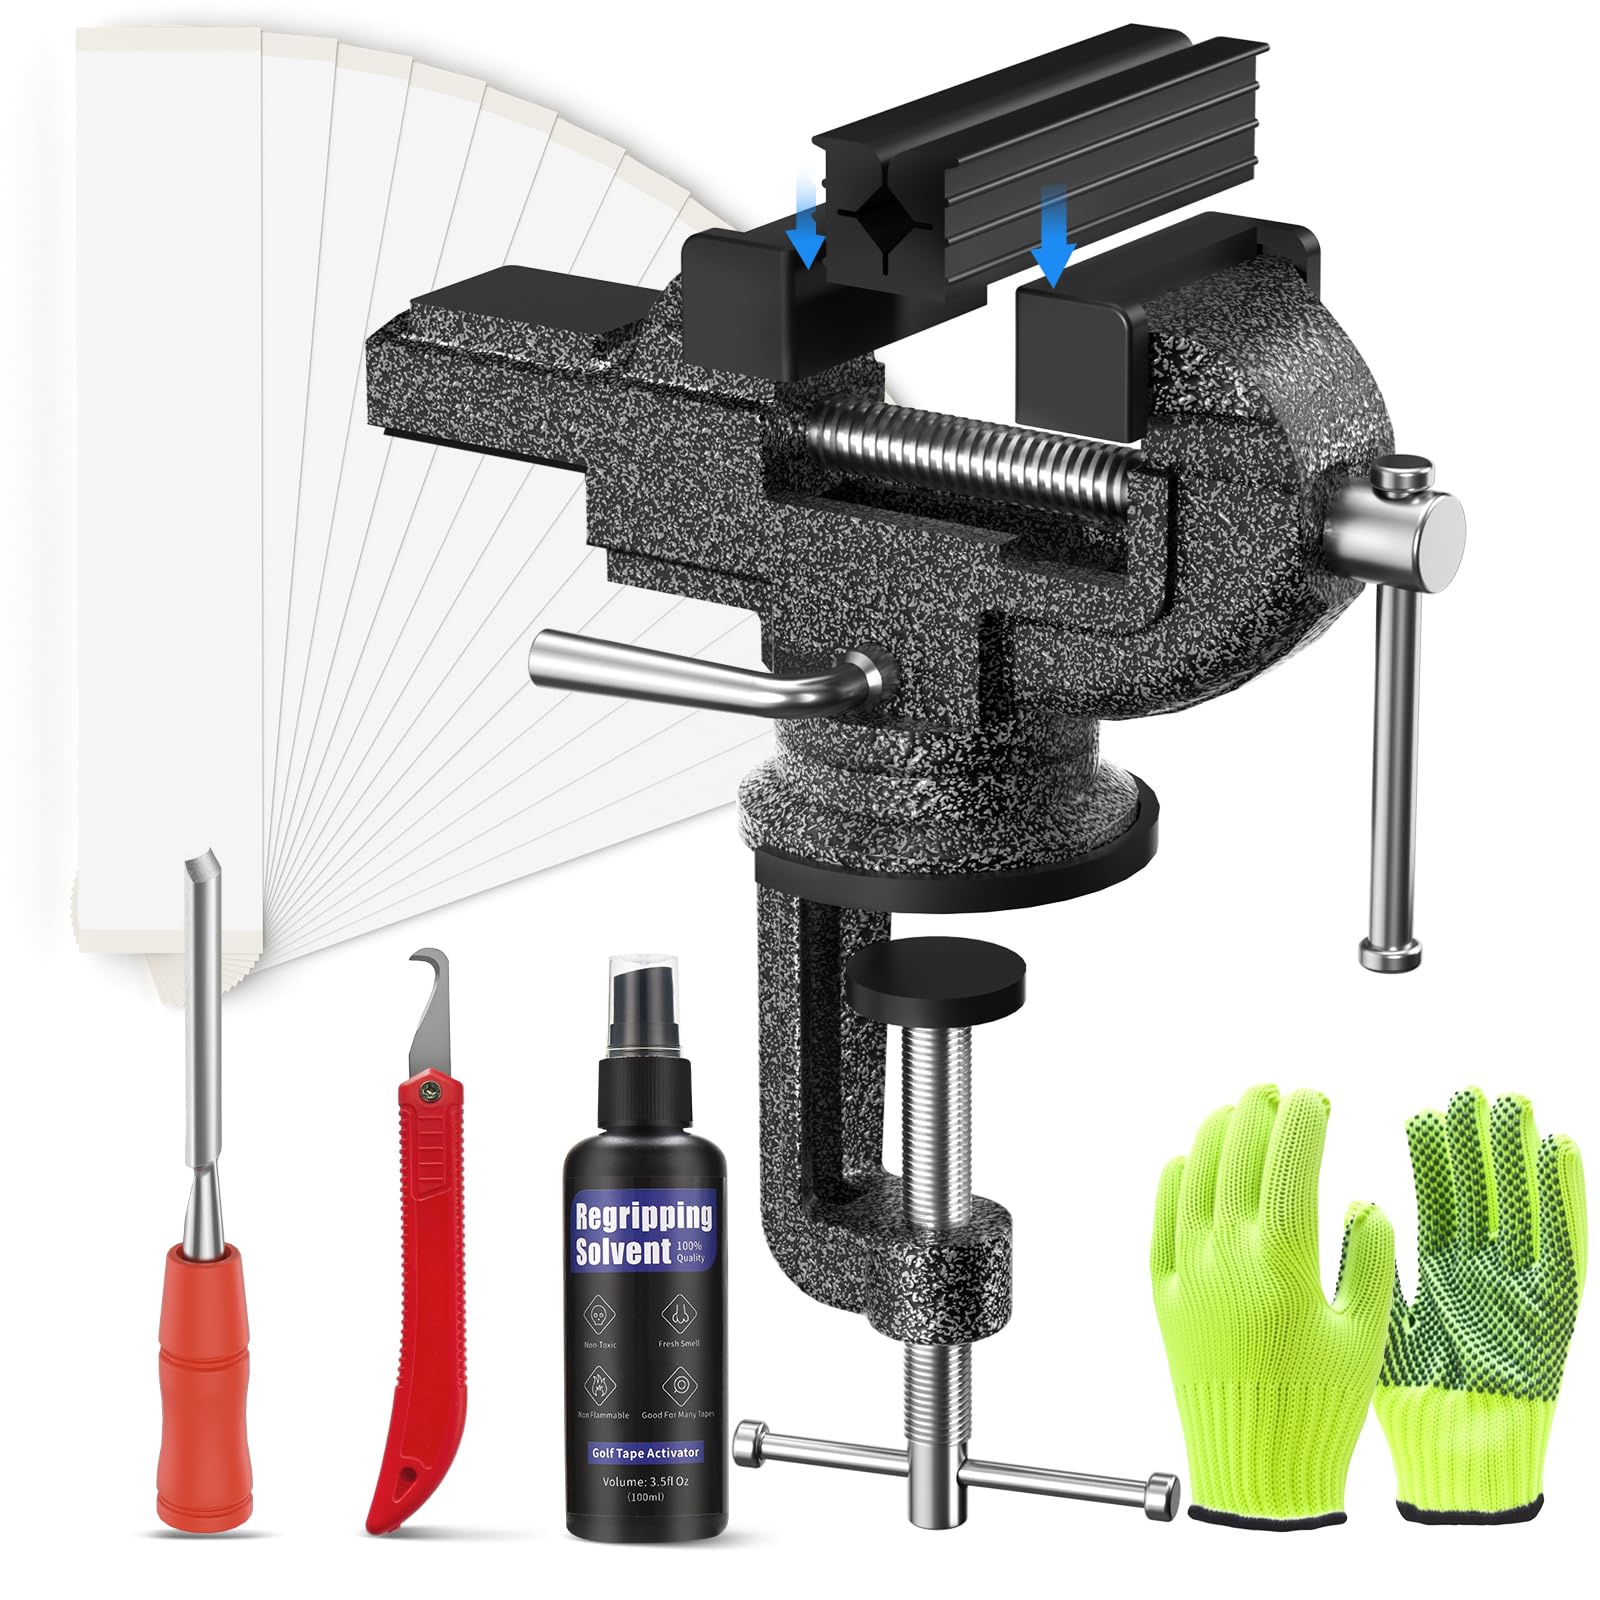
Having the right tools makes a big difference in the quality and speed of your repair.
Must-Have Tools List
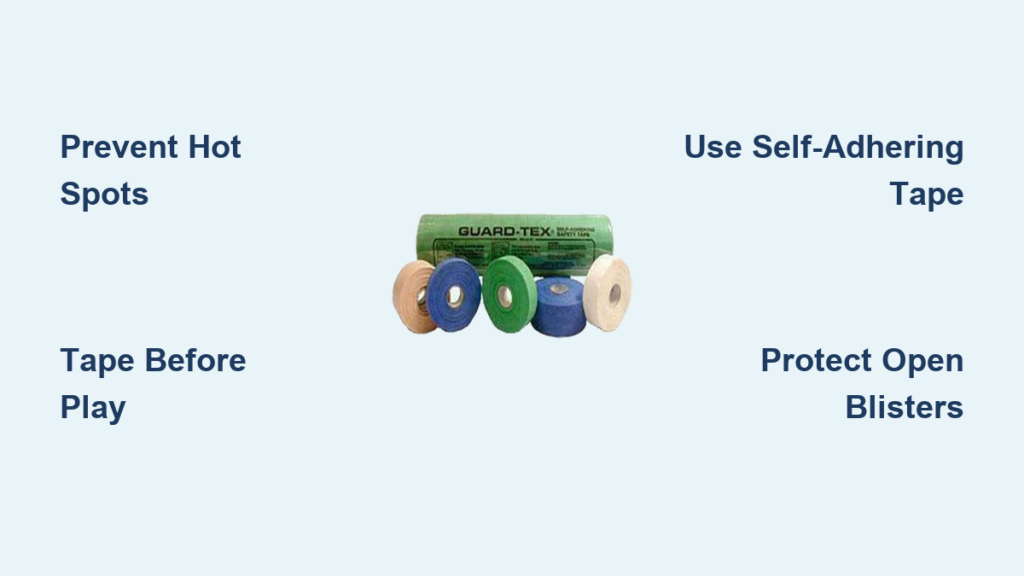
- Double-sided grip tape – Ensures a secure bond between grip and shaft
- Grip solvent or mineral spirits – Activates tape for smooth, bubble-free installation
- Utility knife – For cleanly removing old grips
- Vice with soft jaws – Holds club steady during work without damaging the shaft
- Grip clamp or rubber band – Keeps grip in place while drying
- Measuring tape or ruler – Ensures proper grip alignment and length
Using improper tools can damage your club. Always avoid metal clamps or excessive force when removing or installing grips.
Where to Buy Repair Supplies
Most local pro shops carry Grip It Golf-compatible supplies. Online retailers like GolfWorks, Amazon, or the official Grip It Golf website offer complete regrip kits. Look for kits labeled “universal fit” if you’re unsure of your model.
Diagnose the Problem First
Before starting any repair, identify what’s actually wrong.
Loose or Slipping Grip
If the grip spins on the shaft during your swing, the adhesive has likely failed. This is common in humid climates or after frequent washing. Check for gaps between the grip and shaft or visible wear at the butt end.
Shaft Misalignment
Misaligned shafts affect accuracy. To test, place the club on a flat surface with the clubface square. If the shaft doesn’t align with the center of the face, it may need reseating or professional realignment.
Cracks or Wear on Grip Surface
Inspect the texture. Deep cracks, smooth patches, or flaking mean it’s time to replace the grip. Worn grips reduce control and increase hand fatigue.
How to Replace a Grip on Your Grip It Golf Club
Regripping is the most common repair and can be done in under 30 minutes.
Remove the Old Grip
Secure the club in a vice using soft jaws. Use a utility knife to cut a slit along the length of the grip. Peel it off, then clean off old tape residue with solvent. Be careful not to scratch the shaft.
Warning: Never use pliers or sharp tools directly on the shaft. This can weaken or damage it.
Apply New Grip Tape
Wrap double-sided tape evenly from the tip of the shaft to the butt end. Overlap slightly (about 1/8 inch) with each turn. Avoid wrinkles or gaps. Let the tape dry for a minute before applying solvent.
Install the New Grip
Pour grip solvent inside the new grip and swirl to coat the inner surface. Slide the grip onto the shaft, aligning the logo or marking with the clubface. Press firmly and rotate slightly to ensure full contact.
Hold the grip in place for 10–15 seconds, then secure with a clamp or rubber band. Let it cure for at least 6 hours before use.
Pro Tip: Use a grip installation tool for faster, cleaner results, especially with longer grips.
Fixing Shaft Wobble in Grip It Golf Clubs
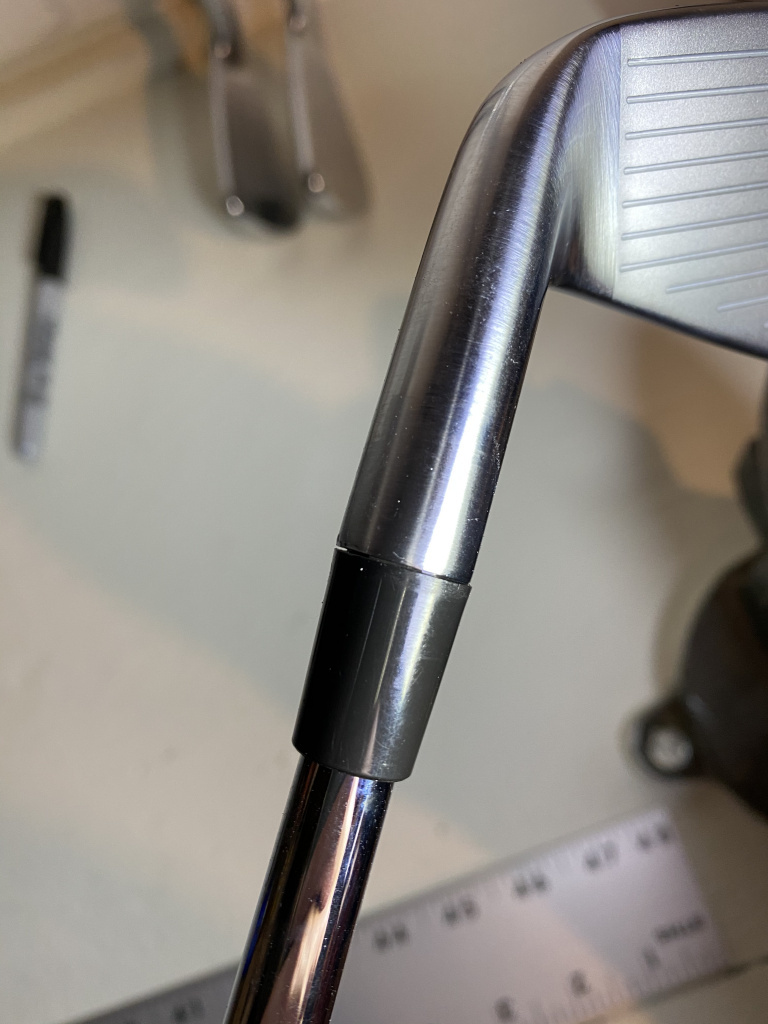
A wobbling shaft means poor connection between grip and club.
Check Ferrule and Hosel Fit
The ferrule (plastic or metal ring at the base of the shaft) should sit flush against the clubhead. If it’s loose or cracked, remove the shaft and inspect the hosel (the socket in the head). Debris or old epoxy can prevent a tight fit.
Reinstall Shaft with Epoxy
If the shaft is loose, it may need to be reinstalled. Heat the hosel gently with a heat gun (do not overheat) to soften old epoxy. Remove the shaft, clean both shaft tip and hosel with acetone, then apply fresh golf shaft epoxy.
Reinsert the shaft fully, rotate slightly to spread epoxy, and let it cure for 24 hours in a horizontal position.
Note: This repair requires precision. If unsure, consult a club fitter.
Prevent Future Damage to Your Grip It Golf Equipment

Regular maintenance prevents most common issues.
Clean After Every Round
Wipe down grips with a damp cloth and mild soap. Avoid harsh chemicals or soaking. Dry completely before storing.
Store in a Dry Place
Moisture breaks down adhesives and causes rust. Keep clubs in a temperature-controlled environment, not in trunks or damp garages.
Inspect Every 3 Months
Check for grip wear, shaft tightness, and ferrule condition. Early detection means easier, cheaper fixes.
When to Seek Professional Help
Some issues go beyond DIY fixes.
Bent Shaft or Clubhead
If the shaft is visibly bent or the clubhead is deformed, do not attempt to straighten it yourself. This compromises structural integrity. Visit a certified repair technician.
Internal Mechanism Failure
Some Grip It Golf models have adjustable weights or internal dampeners. If these fail, contact the manufacturer or authorized service center. Opening these components may void the warranty.
Regrip Frequency Guidelines
How often you repair depends on use.
Recreational Players (1–2 Rounds/Week)
Replace grips every 12–18 months. Even if they look fine, the material breaks down over time.
Frequent Players (3+ Rounds/Week)
Regrip every 6–9 months. Sweat and friction accelerate wear.
Humid or Hot Climates
Moisture and UV exposure degrade rubber faster. Inspect every 4–6 months and regrip as needed.
Frequently Asked Questions About Grip It Golf Repair
How do I know when my Grip It Golf grip needs replacing?
Look for visible cracks, smooth spots, or flaking on the surface. If the grip slips during swings or feels hard, it’s time for a replacement. Even grips that look fine should be replaced every 12–18 months for casual players.
Can I regrip a club without a vice?
Yes, but it’s harder. You can use a non-slip mat or wedge the club between your knees. A vice provides better stability and reduces the risk of damage during removal and installation.
What solvent is safe for Grip It Golf grips?
Use grip solvent or mineral spirits. Avoid acetone or harsh chemicals, which can damage rubber compounds. Always check the grip manufacturer’s recommendations before applying any solvent.
How long does a regrip take to cure?
Most grips need 6 hours of curing before play, though 24 hours is ideal for maximum bond strength. Keep the club horizontal and avoid using it during the curing window.
Is Grip It Golf repair covered under warranty?
Warranty coverage depends on the issue and purchase date. Manufacturer defects are typically covered, but wear-and-tear or DIY repair damage is not. Contact Grip It Golf directly with your serial number for details.
Should I regrip all clubs at the same time?
Yes, ideally. Consistent grip type, texture, and weight improve swing feel and performance. If budget is a concern, prioritize your most-played club first and work through the set over time.
Key Takeaways for Grip It Golf Repair
A few simple habits keep your clubs performing like new. Inspect grips every few months, especially if you play often or live in a humid area. Replace grips based on your playing frequency, not just how they look. Use proper tools, follow safety steps, and don’t force a fix when professional help is the smarter choice.
Your next step: Do a quick inspection of your most-used Grip It Golf club today. If the grip feels slick, loose, or worn, schedule a regrip before your next round. A solid grip means better control, more consistent swings, and longer-lasting equipment.