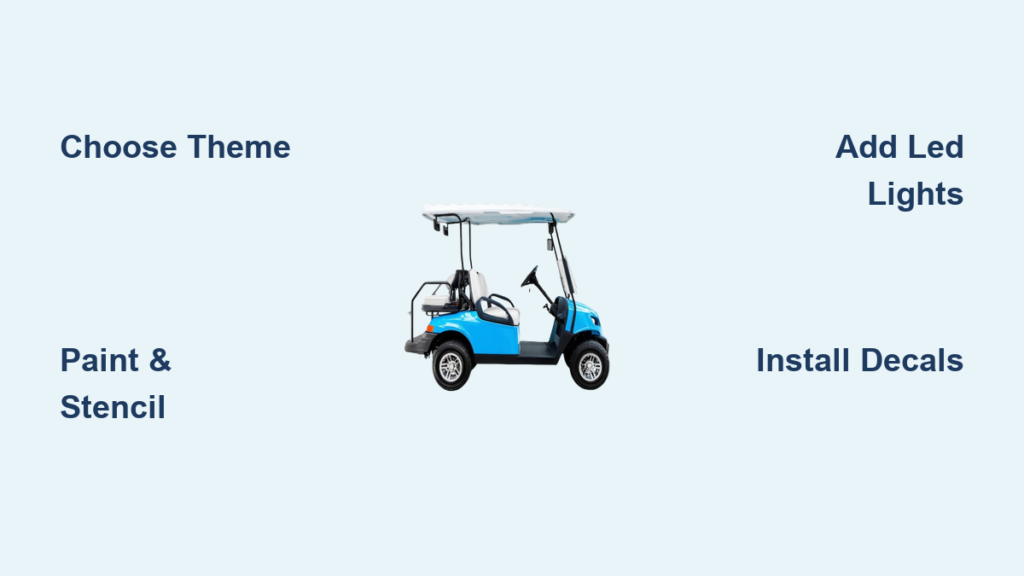
If you’ve ever rolled through Disney’s Fort Wilderness Resort and seen a fleet of wildly themed golf carts zipping past log cabins and campfires, you know these aren’t just utility vehicles. They are rolling expressions of fun. Decorating a golf cart transforms it from a simple ride into a personalized adventure machine, perfect for resort getaways, themed weekends, or neighborhood parades. Whether you’re aiming for whimsy, nostalgia, or full-on Disney magic, learning how to decorate a golf cart is all about blending creativity with practicality.
This guide walks you through every step, from choosing a theme to installing lights and personalizing details, while keeping safety and rules in mind. You’ll learn how to make your cart stand out, stay functional, and reflect your unique style.
Choose a Theme First
Before buying supplies, pick a unifying theme. A strong theme ties all your decorations together and makes decision-making easier.
Match Your Vacation Vibe
Popular themes include:
– Pirate adventure (think skull-and-crossbones, treasure maps)
– Western cowboy (bandanas, cacti, rustic signage)
– Jungle safari (animal prints, greenery, explorer gear)
– Disney character (Mickey, Tinker Bell, or princess motifs)
Use the resort’s rustic-chic atmosphere as inspiration, especially if you’re at Fort Wilderness. Lean into the cabin-style charm with nature-inspired designs.
Consider Seasonal Rotations
Plan for change. Rotate decorations based on holidays:
– Christmas: Add mini wreaths, red-and-green lights
– Halloween: Attach pumpkins, spooky decals
– Spring: Use floral garlands, pastel colors
This keeps your cart fresh year-round without needing a full redesign.
Paint & Finish with Style
A custom paint job instantly elevates your golf cart’s look.
Pick Themed Colors
Choose color schemes that match your theme:
– Pirate: Black, navy, gold
– Western: Brown, tan, turquoise
– Tropical: Bright pinks, blues, yellows
Use spray paint or automotive-grade paint for durability.
Add Stenciled Designs
Enhance painted surfaces with stencils:
– Paw prints for animal lovers
– Stars for a magical night-sky effect
– Whimsical patterns like swirls or waves
Stencil kits are affordable and easy to apply. Just secure with tape and spray lightly.
Pro Tip: Test stencils on cardboard first to perfect spacing and alignment.
Apply Custom Decals & Vinyl Wraps

Decals offer big impact with zero permanent changes.
Use Removable Vinyl Decals
These are ideal for rentals or rule-restricted areas:
– Disney quotes like “Where Dreams Come True”
– Logos such as “Walt Disney World” or “Fort Wilderness” with a fun twist
– Seasonal designs: Pumpkins, snowflakes, hearts
Peel-and-stick vinyl won’t damage surfaces and comes off cleanly.
Customize with Personal Touches
Add family flair:
– Insert your last name: “The Smiths’ Wild Ride”
– Use vacation nicknames: “Camp Magic Makers”
Place decals on side panels, dashboard, or rear storage area for visibility.
Install LED Lighting Effects
Lights make your cart pop, especially at night.
Strategic Light Placement
Install LED strip lights in key spots:
– Along the roof edge for an illuminated canopy
– Under seats for a floating glow effect
Use battery-powered strips to avoid wiring hassles.
Add Festive String Lights
Drape string lights around the roll bar or canopy:
– Choose warm white for cozy charm
– Multicolor for party vibes
Pair with a small battery-powered lantern for extra ambiance.
⚠️ Check Resort Rules: Some locations restrict lighting types for safety or environmental harmony.
Personalize with Nameplates & Slogans
Make your cart instantly recognizable.
Design a Custom Nameplate
Mount a weatherproof sign with:
– Family name
– Vacation nickname such as “The Mouseketeers”
– Fun slogan:
– “The Wild Cart Crew”
– “Wanderers of the Wilderness”
Use wood, acrylic, or metal for durability.
Display It Prominently
Attach the nameplate to:
– Front bumper
– Rear rack
– Dashboard
This small detail builds identity and invites smiles from fellow guests.
Organize with Decorative Storage

Smart storage keeps your cart functional and stylish.
Use Themed Bins & Baskets
Choose colorful containers for:
– Snacks
– Drinks
– Park maps
– Sunscreen
Weave in theme elements, like a cowboy hat-shaped basket or jungle-print bin.
Add a Fun Cooler
Include a small cooler with:
– Themed cover (Mickey ears, tropical print)
– Labeled side like “Chill Zone” or “Hydration Station”
Keeps drinks cold and adds visual flair.
Decorate the Rear End
Don’t neglect the back. It’s what people see as you drive away.
Fly a Themed Flag
Attach a small flag to the rear:
– Disney character flag
– Personalized pennant with family initials
– Wind spinner with animated motion
Flags flutter in the breeze, drawing attention.
Show Off a Mini Golf Bag
Place a mini golf bag in the back with:
– Fun design (plaid, animal print)
– Character sticker (Mickey, Minnie, Stitch)
Even if you don’t play, it completes the golf cart vibe.
Customize the Interior

Comfort meets style inside the cabin.
Install Themed Seat Covers
Choose covers that match your theme:
– Safari: Animal prints, khaki fabric
– Western: Denim, leather, fringe
– Tropical: Palm leaves, bright florals
Ensure they fit snugly and don’t interfere with seat belts.
Add a Bluetooth Speaker
Clip a small wireless speaker to the dashboard or seat:
– Play background music on park cruises
– Sync with your phone for playlists
Look for waterproof models to withstand outdoor use.
Follow Rules & Safety Guidelines
Creativity should never compromise safety or policy.
Check Resort Regulations First
Before installing anything:
– Verify lighting rules (some ban flashing or bright colors)
– Confirm decal policies (no permanent adhesives allowed)
– Ask about modifications (paint may not be permitted on rentals)
Fort Wilderness and similar resorts prioritize preserving the natural, rustic atmosphere.
Prioritize Driver Safety
Ensure decorations don’t:
– Block windshield or side mirrors
– Interfere with steering or pedals
– Dangle near wheels or moving parts
Rule of Thumb: If it moves, blocks, or could fall off, reconsider placement.
Use Weather-Resistant Materials
Your cart lives outdoors, so build to last.
Choose Durable Supplies
Select items that can handle:
– Sun exposure
– Rain
– Wind
Look for:
– UV-resistant vinyl
– Waterproof fabrics
– Rust-proof metal tags
Avoid paper, cardboard, or flimsy plastics.
Secure All Attachments
Use:
– Zip ties for flags and spinners
– Adhesive mounts rated for outdoor use
– Non-scratch clips for lights
This prevents loss and damage during rides.
Plan for Easy Updates
Make your design flexible for future changes.
Design Modular Decor
Use removable elements so you can:
– Swap out seasonal items quickly
– Change themes between trips
– Repair or replace pieces easily
Example: Magnetic nameplates or hook-and-loop seat covers.
Store Off-Season Decor Safely
Keep unused items in labeled bins:
– Christmas lights
– Halloween pumpkins
– Summer beach flags
Protect them from dust and moisture for longer life.
Avoid Common Mistakes
Even the most creative projects can go wrong without planning.
Skipping Rule Checks
Never assume decorations are allowed. A cart covered in lights might get flagged at resort check-in.
Using Non-Removable Mods
Permanent paint or glued decals can result in fees, especially on rented carts.
Ignoring Weatherproofing
Flimsy decorations that fade, peel, or break after one rainstorm aren’t worth the cost.
Overloading the Cart
Too many decorations create clutter and safety hazards. Stick to a few high-impact pieces.
Get Inspired by Real Examples
Browse themed collections for fresh ideas.
Explore Pinterest Boards
The board “Decorated Golf Carts for Themed Weekends” curated by Melissa Rains Scribner features 441 pins of real-life carts, including:
– Mickey Mouse-themed rides
– Rustic wood-sign carts
– Holiday-light extravaganzas
Use it to spark ideas without copying directly.
Adapt, Don’t Replicate
Take inspiration but tailor it:
– Scale down elaborate builds for smaller carts
– Substitute Disney elements if trademarks are restricted
Final Checklist: Complete Golf Cart Decoration
Use this quick-reference list before your next trip:
- Theme selected (pirate, western, seasonal)
- Paint or decals applied (removable if needed)
- LED lights installed (roof, under seat, string lights)
- Nameplate or slogan displayed
- Storage bins and cooler added
- Rear flag, spinner, or golf bag in place
- Seat covers and Bluetooth speaker set up
- Seasonal decorations ready for rotation
- All items secured and safe
- Resort rules verified
Frequently Asked Questions About Decorating a Golf Cart
What is the best theme for a golf cart at Fort Wilderness?
Popular themes that match the rustic atmosphere include cowboy/western, pirate adventure, and jungle safari. Disney character themes also work well for guests who want extra magic.
Can I paint a rented golf cart?
Most resorts do not allow permanent paint on rentals. Use removable vinyl decals or temporary wraps instead to avoid fees or penalties.
Are LED lights allowed on golf carts at resorts?
Rules vary by location. Some resorts restrict flashing or overly bright lights for safety and environmental harmony. Always check with the resort before installing any lighting.
What materials hold up best outdoors on a golf cart?
UV-resistant vinyl, waterproof fabrics, and rust-proof metal components offer the best durability. Avoid paper, cardboard, and flimsy plastics that degrade quickly.
How do I decorate a golf cart without damaging it?
Use peel-and-stick removable decals, magnetic nameplates, hook-and-loop seat covers, and zip ties for flags. These options let you personalize without leaving marks.
Where can I find golf cart decoration ideas?
Pinterest boards like “Decorated Golf Carts for Themed Weekends” by Melissa Rains Scribner showcase hundreds of real examples to spark inspiration.
Final Thoughts on Decorating a Golf Cart
Decorating a golf cart is more than just a craft project. It’s a way to enhance your vacation experience, express your personality, and spread joy as you cruise through campgrounds or neighborhoods. By combining creative themes, removable upgrades, and smart functionality, you can build a cart that’s both eye-catching and practical.
Start simple, follow the rules, and let your imagination lead the way. Whether you’re heading to Fort Wilderness or just sprucing up your backyard cart, your ride should feel like an extension of your adventure. Pick one theme, gather your supplies, and begin transforming your cart today.