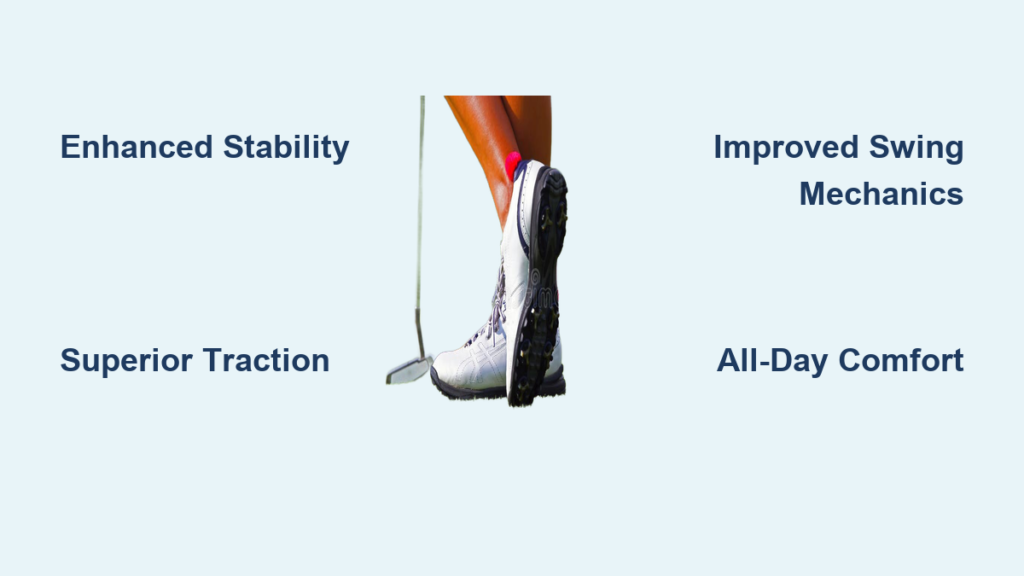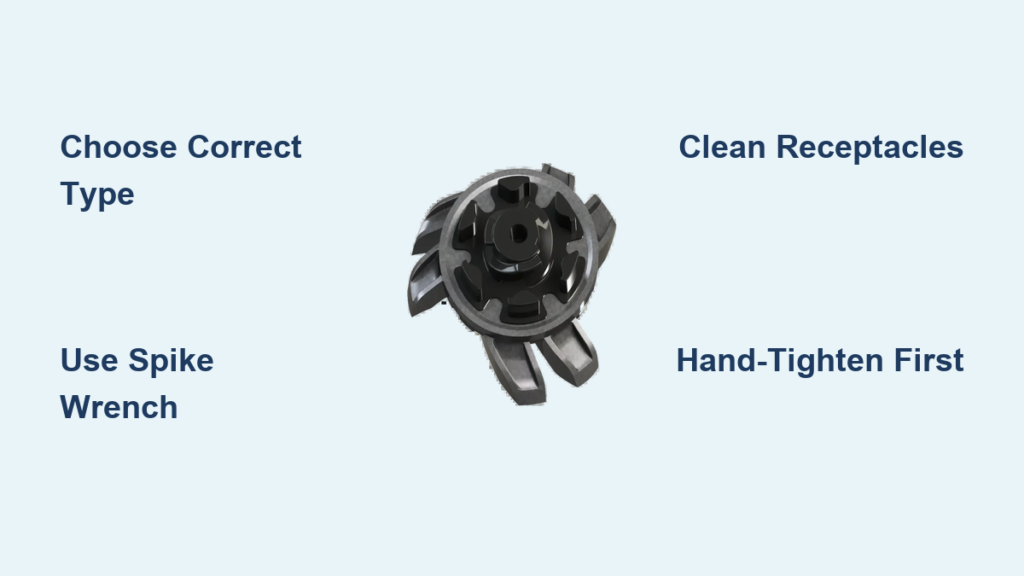
Slipping on the fairway ruins confidence and throws off your swing. If your footing feels unreliable, the cause is almost always worn golf spikes. Learning how to replace golf spikes is one of the easiest maintenance tasks a golfer can do, and it takes less than 15 minutes with the right tools.
This guide covers every step, from choosing the correct spike type to troubleshooting stripped threads. You’ll learn which tools to gather, how to remove and install spikes without damaging your shoes, and when it’s time to swap them out for fresh ones. By the end, you’ll have everything needed to restore traction and protect your investment in quality golf footwear.
Choose the Right Spike Type for Your Golf Shoes

Using the wrong spike type is the fastest way to ruin a good pair of golf shoes. Confirming your system before buying replacements prevents costly mistakes.
Identify Your Spike System
Most golf shoes use either threaded (screw-in) or quick-release (twist-lock) spikes. Threaded models have visible screw threads and need a tool for removal. Twist-lock spikes snap in and out by hand. Look for branding like Tri-LOK, Q-LOK, or Boa on the sole or original packaging to confirm compatibility.
Select Compatible Replacement Spikes
Buy spikes made specifically for your system. Popular brands include Champ, FootJoy, and PING. You can choose between soft spikes (plastic or rubber, which are course-friendly) and metal spikes (which offer stronger grip but are banned at many courses). Always check club regulations before going with metal.
Compare Spike Materials and Lifespan
Rubber and composite spikes typically last 15 to 20 rounds. Metal spikes last longer in terms of tread life but wear down faster on hard surfaces. Some options feature multi-directional treads for better stability in wet conditions. Consider your local climate when selecting tread patterns.
Gather the Tools You Need

The right tools make the job fast and prevent accidental damage to your shoes or new spikes.
Use a Spike Removal Tool
A spike wrench or spike puller is essential for threaded systems. These tools grip the spike head and let you unscrew it. Remember that golf spikes use reverse threading, so turning clockwise removes them. Many spike tools include built-in storage for spares. For twist-lock models, a flathead screwdriver or your fingers usually works.
Prepare a Cleaning Brush and Cloth
Dirt and grass collect inside spike receptacles. Keep a small brush (an old toothbrush works well) and a dry cloth nearby to clean each hole before installing new spikes. A clean receptacle ensures a tight, secure fit.
Organize Your Replacement Spikes
Lay out all new spikes before starting. Most golf shoes have 8 to 12 spike positions. Count your receptacles first so you know exactly how many replacements you need. Store extras in your golf bag for quick fixes on the course.
Remove Old Golf Spikes Safely
Work on one shoe at a time to avoid mixing up old and new spikes.
Unscrew Threaded Spikes Properly
Fit the spike wrench onto the spike head and turn clockwise to loosen. The reverse threading feels wrong at first, but it prevents spikes from loosening during play. Apply steady pressure and avoid forcing stuck spikes. A drop of lubricant like WD-40 and 30 seconds of wait time usually frees a stubborn spike.
Pull Out Twist-Lock Spikes Safely
For snap-in models, press the spike inward slightly and twist counterclockwise until it pops out. Pliers with a cloth barrier also work if the spike is tight. Inspect each receptacle after removal for cracks or warping, since damaged holes won’t hold new spikes securely.
Inspect Old Spikes for Wear Patterns
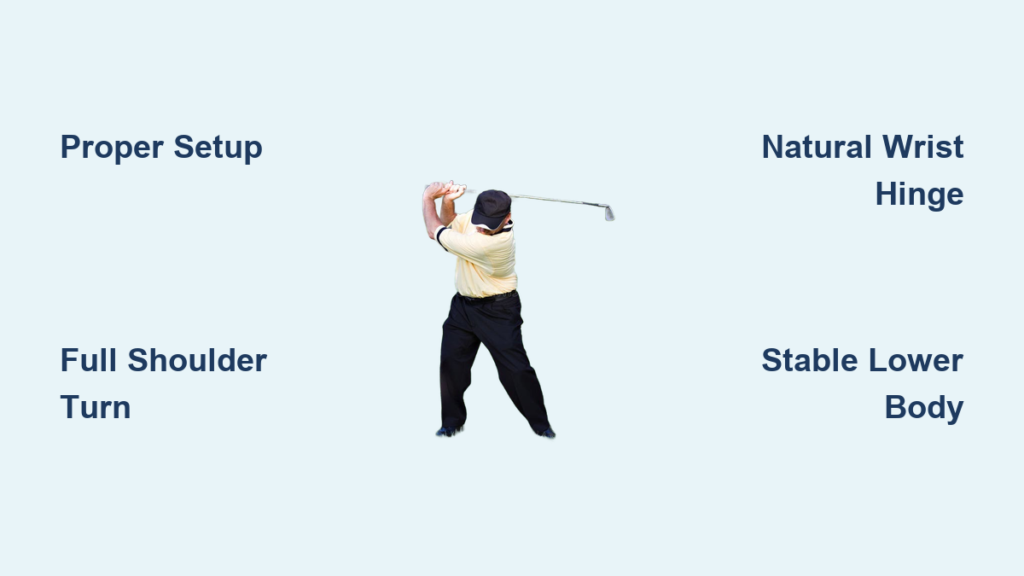
Look at each removed spike for uneven wear, cracks, or missing lugs. One-sided wear can signal poor swing mechanics or stance issues. Check the sole for deep cracks or loose receptacles, which may mean your shoes need replacing soon.
Install New Golf Spikes the Right Way
Proper installation prevents loose spikes and extends the life of your shoes.
Hand-Tighten Each Spike First
Start threading every new spike by hand before using any tool. Align each one straight to avoid cross-threading. Turn counterclockwise to tighten because of the reverse threading system. Doing this for all spikes first makes the final tightening faster.
Use the Spike Wrench for Final Tightening
After hand-tightening, use the spike wrench to secure each spike. Apply firm but controlled pressure. A quarter to half-turn past hand-tight is usually enough. Over-tightening strips the threads and ruins the receptacle.
Confirm Even Placement and Security
Press down on each spike to verify it sits flush with the sole. Wiggle each one side-to-side. Any movement means you need to re-tighten or clean the hole again. Repeat the full process for your second shoe.
Test Your Spikes and Establish a Maintenance Routine
Fresh spikes only perform well if you take care of them between rounds.
Walk on a Hard Surface
Test your shoes on concrete or tile before heading to the course. Listen for clicks or rattles. Any loose spike should be removed and reinstalled immediately.
Clean Spikes After Every Round
Rinse off mud and grass clippings after playing. Use a brush to clear caked dirt from the treads. This habit preserves grip and prevents corrosion, especially on metal spikes.
Rotate Spikes to Extend Lifespan
If you practice frequently, rotate spike positions every few rounds to spread out wear. Mark one spike with a small dot of nail polish so you can track the rotation cycle easily.
Troubleshoot Common Spike Replacement Problems
Even careful golfers run into issues. Here’s how to solve the most common ones.
Spikes That Won’t Tighten Fully
Remove the spike and inspect the receptacle if it won’t seat properly. Debris or stripped threads are the usual causes. Clean the hole thoroughly, or replace the receptacle insert if your shoe design allows it. Some shoes let you swap out the entire spike plate.
Stripped Threads in the Sole
Over-tightening or the wrong tool causes this. Minor stripping may still hold a spike, but recurring looseness means the shoe can no longer secure spikes safely. Retire the shoe or use a temporary adhesive fix until you can replace them.
Mixed Spike Types Cause Balance Issues
Never mix spike models or heights on the same shoe. Uneven support throws off your balance and affects swing mechanics. Always replace all spikes at once with identical models and sizes.
Know When It’s Time to Replace Golf Spikes
Timing your replacements keeps traction consistent and protects your shoes.
Replace Every 15 to 25 Rounds
Most manufacturers recommend replacing spikes every 15 to 25 rounds. For weekly players, that translates to about every 3 to 4 months. A simple log in your golf bag helps track usage accurately.
Look for Visible Wear Signs
Flattened lugs, cracked bases, or exposed metal cores signal it’s time for new spikes. Compare an old spike with a new one side by side. Clear differences in height or tread depth confirm replacement is overdue.
Notice Performance Changes
Slipping during swings, especially on damp turf, is a major warning sign. Increased foot fatigue also points to worn spikes. Fresh spikes solve both problems quickly.
Frequently Asked Questions About Replacing Golf Spikes
How often should you replace golf spikes?
Most golfers should replace their spikes every 15 to 25 rounds. Players who walk the course frequently or practice often may need replacements sooner. Visible wear, slipping, and increased foot fatigue are all signs it’s time for fresh spikes.
What tools do you need to replace golf spikes?
A spike wrench is the most important tool for threaded systems. You’ll also want a small brush for cleaning receptacles, a cloth, and your replacement spikes. For twist-lock systems, a flathead screwdriver or your fingers often works without special tools.
Can you replace golf spikes without a tool?
Twist-lock spikes can be replaced by hand in most cases. Threaded spikes require a spike wrench because of their reverse threading. Using the wrong tool or no tool can strip the receptacle and damage your shoes permanently.
Are metal or soft spikes better for golf shoes?
Soft spikes are course-friendly and accepted at most clubs. Metal spikes offer stronger grip but are banned at many courses due to turf damage. Check your club’s rules before choosing metal replacements.
Why do golf spikes unscrew clockwise?
Golf spikes use reverse threading so they don’t loosen during your swing or while walking. Turning clockwise removes them, and turning counterclockwise installs them. This design keeps spikes secure through rounds of aggressive movement.
What happens if you over-tighten golf spikes?
Over-tightening strips the threads inside the receptacle. Once stripped, the hole can’t hold a spike securely, and the shoe becomes unsafe. Apply firm but controlled pressure, and stop tightening as soon as the spike sits flush.
Key Takeaways for Replacing Golf Spikes
Replacing golf spikes is one of the simplest ways to improve your game. Start by confirming your spike system, then gather a spike wrench, a brush, and compatible replacements. Always use reverse threading when removing and installing threaded spikes. Hand-tighten first, finish with the wrench, and test your shoes on a hard surface before playing.
Inspect your spikes every 15 to 25 rounds and look for visible wear or slipping during swings. Clean the receptacles before installing new spikes, and rotate them occasionally to extend their lifespan. With the right tools and a few minutes of work, your golf shoes will deliver the traction and stability your swing demands. Keep spare spikes in your bag so you’re always ready for the next round.