A torn vinyl golf cart seat is a common frustration, especially for carts left outdoors year-round. Sun exposure, temperature swings, and repeated flexing eventually dry out the material until it cracks or splits. Ignoring the problem only makes it worse, since small tears quickly spread under the weight of passengers and the tension of daily use.
Fortunately, learning how to repair a tear in a vinyl golf seat does not require professional upholstery skills. With the right prep work and materials, you can produce a durable fix in under an hour. This guide covers everything from assessing the damage to choosing a repair method that matches the tear size. You will also learn how to prevent future splits and recognize when a full replacement is the smarter choice.
Assess the Tear Size and Location
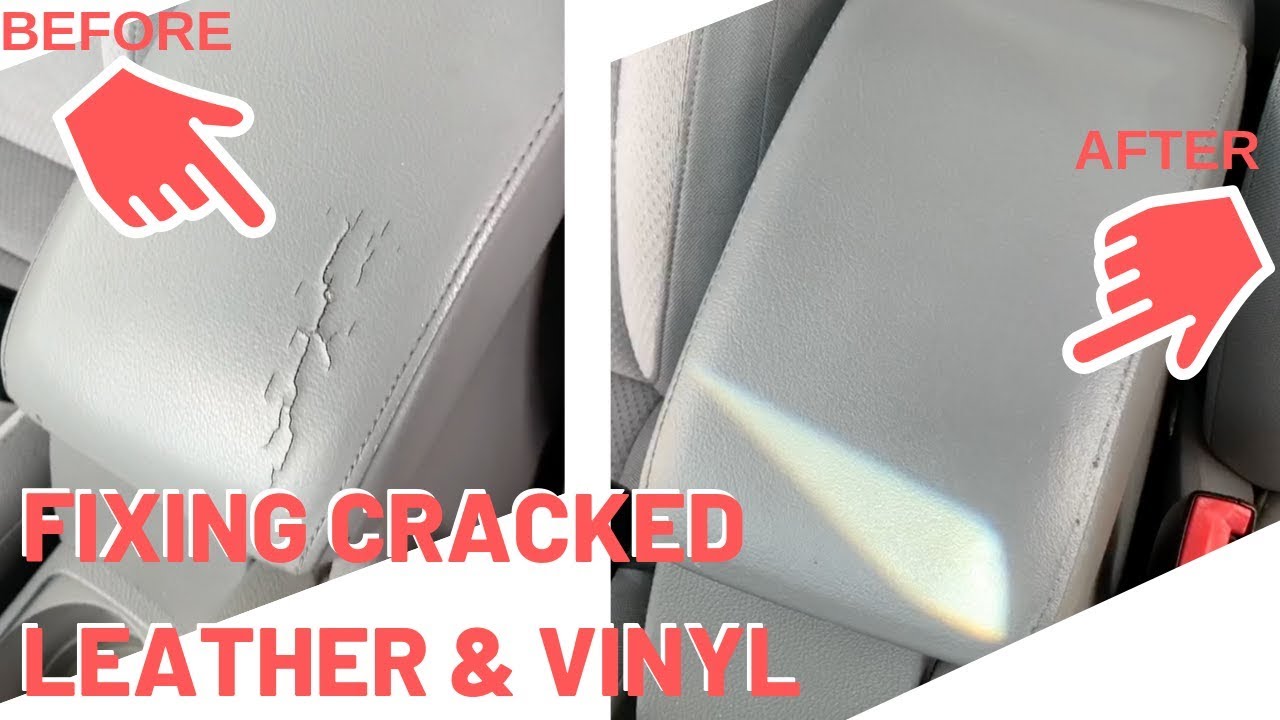
The first step in repairing a vinyl golf seat is understanding exactly what you are dealing with. A small pinhole needs a different approach than a long seam split, and the location affects whether the patch will hold up over time.
Check for Structural Damage
Inspect the area around the tear for exposed foam, sagging cushioning, or visible frame components. If the foam has compressed or water has seeped into the padding, surface repairs alone will not solve the underlying issue. Tears along seams, seat edges, or fold lines are high-stress zones that need reinforced repair methods.
Measure the Tear Dimensions
Tear size directly determines which technique will work best:
• Under 1 inch: Liquid vinyl adhesive or clear repair tape handles pinholes and hairline cracks.
• 1 to 3 inches: A fabric-backed vinyl patch bonded with contact cement gives structural support.
• Over 3 inches: A larger patch or full panel replacement is usually required.
Also note whether the tear appears to be spreading. Whitened or frayed edges indicate ongoing stress that must be addressed during the repair.
Clean and Prep the Damaged Area
Vinyl repairs fail most often because the surface was not properly prepared. Oils, dirt, and degraded top layers prevent adhesives from forming a strong bond.
Remove Surface Debris
Wipe the damaged area with a soft cloth and a mild soap and water solution. Avoid solvent-based cleaners, which can further break down the vinyl. Allow the surface to dry completely before moving on.
Trim Loose Edges
Use small scissors or a sharp utility knife to carefully snip away frayed or curled vinyl around the tear. Only remove material that is already damaged, and avoid cutting into intact sections. Clean edges give the patch a smoother surface to bond with.
Lightly Sand the Surface
Scuff the area around the tear with fine-grit sandpaper (220 to 300 grit) about one inch beyond the edges. This removes the glossy topcoat and creates tooth for the adhesive. Wipe away all dust with a clean, dry cloth before patching.
Choose the Right Repair Method

Once the surface is prepped, choose the technique that matches your tear size and seat construction.
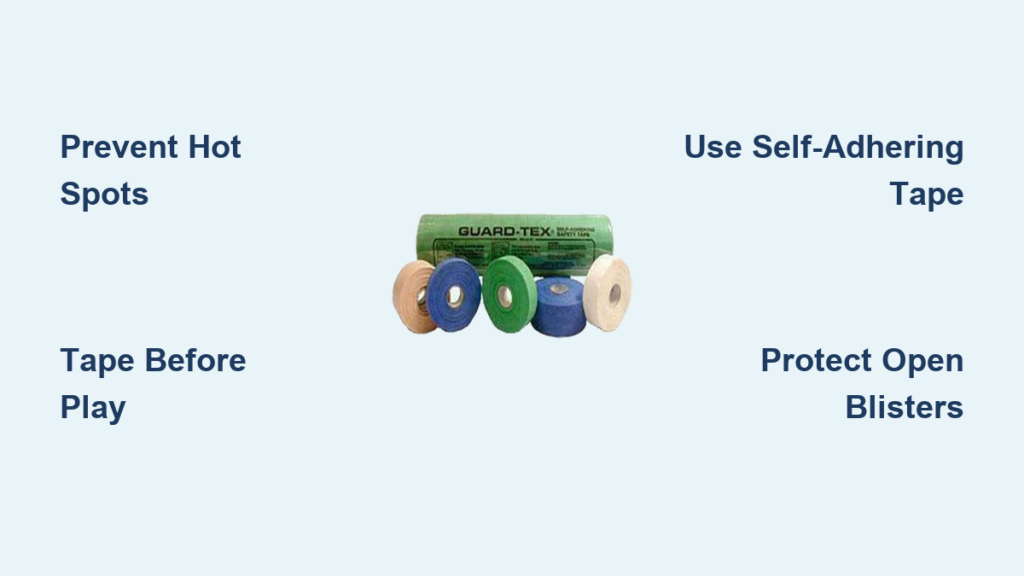
Use Vinyl Repair Tape for Small Tears
Clear vinyl repair tape works well for tears under one inch. The original source discussion mentions Record Doctor Vinyl Repair Tape, originally designed for records, which is thin, transparent, and flexible enough to handle small vinyl repairs.
• Cut a piece slightly larger than the tear.
• Apply it from the underside when possible, or smooth it onto the surface if the back is inaccessible.
• Press out air bubbles with a credit card or similar flat tool.
This method is best for cosmetic fixes or stabilizing a small tear before committing to a more durable patch.
Apply a Vinyl Patch for Medium to Large Tears
For tears larger than one inch, a fabric-backed vinyl patch offers the strength needed to handle regular use.
Cut a Patch with Extra Margin
Use a color-matched vinyl repair kit, or source matching material from a hidden spot under the seat. Cut the patch about half an inch larger than the tear on every side for full edge coverage.
Attach with Vinyl Adhesive
Brush a thin layer of flexible vinyl adhesive, such as 3M Headliner and Trim Adhesive or Barge All-Purpose Cement, onto both the patch and the seat surface. Wait two to three minutes until the glue becomes tacky, then press the patch firmly into place. Roll over the patch with a small roller or flat tool to eliminate air pockets and ensure full contact.
Seal the Edges to Prevent Spreading
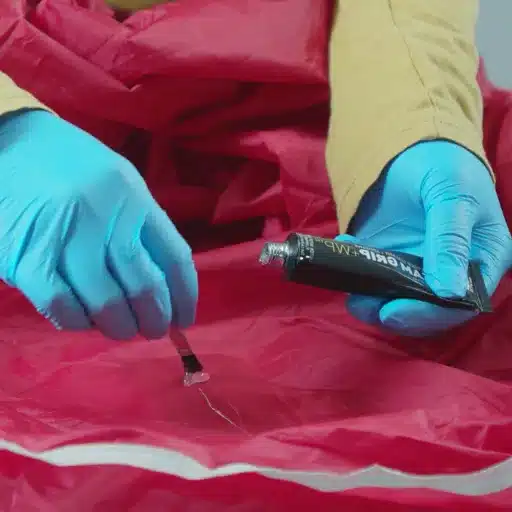
A patch alone can still allow moisture and stress to creep under the edges. Sealing the perimeter locks everything in place.
Use a Vinyl Seam Sealer
Run a thin bead of liquid seam sealer, such as Tear-Aid Fabric and Vinyl Sealer, along all edges of the patch. This creates a waterproof, flexible barrier that moves with the seat. Smooth the bead with a toothpick or applicator for a clean finish, then allow the sealer to cure for 12 to 24 hours before using the cart.
Match the Texture (Optional)
Some repair kits include textured finishing sprays that mimic the original grain of the vinyl. Apply these after the sealer has dried to help the patch blend with the surrounding material.
Reinforce High-Stress Areas
Tears in seat folds, edges, or other flex zones are more likely to reopen without extra support.
Add a Fabric Backing
Slide a small piece of nylon mesh or heavy-duty fabric behind the tear before applying the patch. This distributes tension across a wider area and reduces strain on the vinyl itself.
Avoid Over-Flexing After Repair
Keep the seat in a neutral, relaxed position while the adhesive and sealer cure. Avoid sitting on the repaired area or folding it until everything has fully set.
Prevent Future Vinyl Damage
A good repair should last, but prevention keeps new tears from forming.
Apply UV Protectant Regularly
UV damage is the leading cause of vinyl cracking. Treat the seat with a silicone-free vinyl protectant like Meguiar’s Endurance Trim Detailer every four to six weeks to keep the material supple and shielded.
Cover Seats When Not in Use
A fitted golf cart cover blocks sun, rain, and temperature extremes. Removable seat covers add another layer of defense for high-wear sections.
Inspect for Early Wear Signs
Check seams, edges, and folds once a month for small cracks or discoloration. Catching minor wear early prevents the next big repair.
When to Replace Instead of Repair

Some seat damage is beyond a sensible patch job. Consider replacing the seat if:
• The tear sits near a structural seam or mounting point.
• Multiple tears have appeared across the surface.
• The vinyl is extensively cracked, faded, or brittle.
• The underlying foam is waterlogged or breaking apart.
Replacement seats come in standard and custom colors and often cost less than repeated repairs. A new seat also restores comfort along with appearance.
Frequently Asked Questions About Vinyl Golf Seat Repair
Can I repair a vinyl golf seat without replacing the whole cushion?
Yes. For most small to medium tears, a surface patch or adhesive repair restores both function and appearance. Replacement only becomes necessary when the foam underneath is damaged or the tear is too large to patch cleanly.
What kind of adhesive works best on vinyl seats?
Flexible vinyl adhesives like 3M Headliner and Trim Adhesive or Barge All-Purpose Cement bond well with vinyl and stay flexible after curing. Avoid rigid superglues, which crack under flex and can worsen the damage.
How long does a vinyl seat repair last?
A properly prepped and sealed patch can last several years. The lifespan depends on tear location, sun exposure, and how well the seat is maintained afterward.
Is clear tape a good option for vinyl tears?
Clear repair tape like Record Doctor Vinyl Repair Tape works as a quick, temporary fix for very small tears. For larger or high-stress tears, a fabric-backed patch with adhesive offers a more durable result.
How long should I wait before using the seat after repair?
Let the adhesive and seam sealer cure for at least 12 to 24 hours before sitting on the repaired area. Full bond strength typically develops after 72 hours.
Key Takeaways for Repairing a Vinyl Golf Seat
Repairing a tear in a vinyl golf seat is one of the most practical ways to extend the life of your cart’s interior without the cost of full reupholstery. The most important steps are proper surface preparation, choosing a patch size and method that matches the tear, and sealing every edge to block moisture and stress. For high-flex areas, a fabric backing adds the reinforcement needed to prevent the tear from reopening.
For small to medium damage, a well-executed repair can hold up for years of regular use. Start by cleaning and lightly sanding the area, apply a matching patch with flexible vinyl adhesive, and finish with a seam sealer for a clean, watertight bond. Add a UV protectant to your maintenance routine and you will dramatically reduce the chance of future tears.