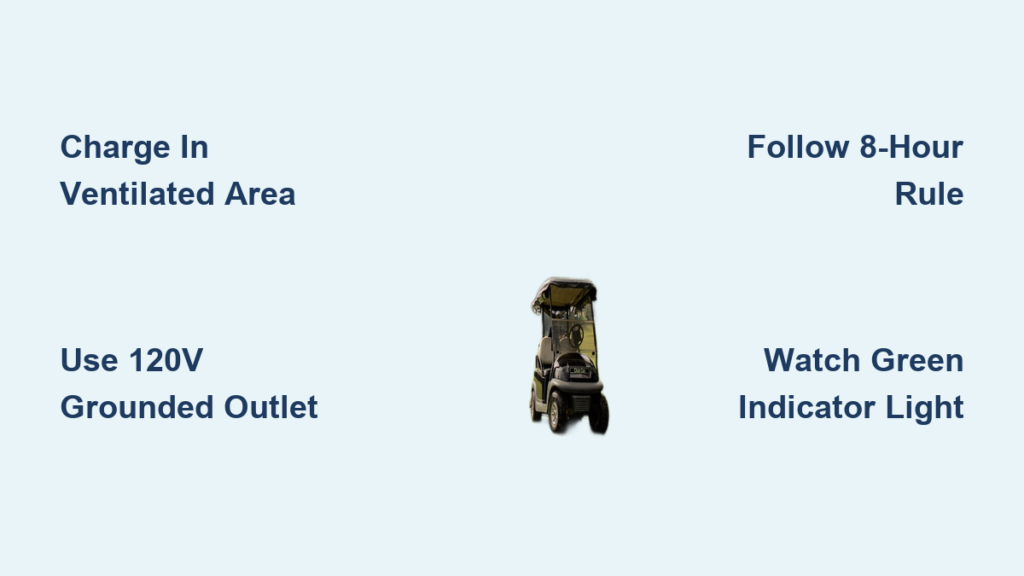
Coming back from a quick ride only to find your cart completely dead is a headache you can easily avoid. Learning how to charge a golf cart properly keeps your battery healthy, your trips uninterrupted, and your equipment safe from preventable damage. Many owners unknowingly shorten battery life with simple mistakes like overcharging, poor ventilation, or using the wrong outlet.
This guide breaks down the exact charging process step by step, drawing from real operating procedures used by San Diego Golf Carts. You’ll learn where to plug in, how long to charge, what the indicator lights mean, and the safety rules that protect both you and your cart.
Pick a Safe, Well-Ventilated Charging Spot
Battery systems release gases during charging. Those gases can become dangerous when trapped in tight or enclosed spaces.
Skip Garages and Basements
Never charge inside a closed garage, basement, or storage unit with limited airflow. Even small amounts of hydrogen buildup can ignite near sparks or open flames. A non-ventilated space turns a routine charge into a serious hazard.
Charge Outdoors on a Dry, Flat Surface
The safest spot is an outdoor area like a covered carport, shaded driveway, or open patio. Make sure the ground is level, dry, and out of the way of foot traffic. A flat, heat-resistant surface like concrete or stone is ideal for setting the charger down.
Get the Golf Cart Ready Before You Plug In

A few quick checks before charging prevent electrical issues and keep your cart in good shape.
Park and Power Down Properly
- Bring the cart to a full stop on level ground.
- Move the Forward/Reverse switch to Neutral, which is the center position.
- Pull up the emergency brake lever to the right of the driver’s seat.
- Turn the key to OFF and take it out of the ignition.
Pro Tip: Never leave the key in the ignition while the cart is charging. Power running to the system can create unnecessary wear on electrical components.
Inspect the Charging Port
The charging port sits under the far-right back seat, covered by a black rubber flap. Open it and look for:
- Dirt, dust, or debris
- Moisture or signs of corrosion
- Damaged or exposed wiring
If the port is wet or dirty, wipe it down with a dry cloth and let it air out fully before plugging in.
Use the Right Equipment for Charging
Using the wrong outlet or cord can fry your charger or damage your battery pack.
What You Need to Charge Safely
- A 120V standard household outlet that is properly grounded
- A manufacturer-approved 3-prong extension charger
- A flat, dry, heat-resistant surface for the charger
Never place the charger on the cart’s seats or inside the vehicle. Heat can build up quickly and damage both the charger and the upholstery.
Test the Outlet First
Plug a lamp or outlet tester into the wall socket before connecting your charger. A grounded outlet protects against electrical surges and reduces shock risk. Ungrounded outlets are unsafe for high-draw devices like golf cart chargers.
Follow These Charging Steps in Order
Now you’re ready to power up. Stick to this sequence to avoid sparks, short circuits, and connection errors.
Step 1: Connect the Charger to the Wall First
Insert the male 3-prong plug into your grounded wall outlet. Always start with the wall connection. This prevents sparking at the cart’s charging port, which is more sensitive to electrical arcing.
Step 2: Plug Into the Cart’s Charging Port
Take the female end of the charger and insert it into the male port under the black rubber cover on the right rear seat. Push firmly until the plug seats completely. A snug fit means a solid connection.
Step 3: Watch for the Green Indicator Light
Once connected, look for a small green light above the steering wheel near the driver’s seat.
- Flashing green means the cart is actively charging.
- Slow flash or no light means charging is complete.
Don’t rely on time alone. Always confirm the charging status visually with the light.
Stick to the 8-Hour Charging Rule

Overcharging is one of the fastest ways to ruin a battery. Even if the cart still has juice left, never charge for more than 8 hours in a single session.
Why the Time Limit Matters
Battery cells heat up the longer they stay plugged in. Extended charging beyond the full mark can cause:
- Permanent capacity loss
- Overheating and swelling
- Electrolyte breakdown
Charge after every use, even short ones. Partial top-ups actually help extend battery life rather than hurt it.
Pro Tip: Plug in when the battery hits around 50%. Letting it fully die before every recharge puts unnecessary stress on the cells.
Follow Non-Negotiable Safety Rules Every Time
Charging a golf cart involves high-current electricity and flammable gases. A few simple habits keep accidents from happening.
No Smoking, Flames, or Sparks Nearby
Keep cigarettes, candles, grills, and pilot lights far away from the cart while it’s charging. Even a tiny spark can ignite built-up battery gases and cause a fire.
Keep Kids and Pets at a Distance
Curious hands and chewing teeth can damage cables or get hurt. Charge when children and pets are indoors, or set up a visible barrier around the charging zone.
Never Charge in Wet Conditions
Skip charging during rain, snow, or when the ground is wet. Water conducts electricity and dramatically increases shock risk. Never hose down the cart right before plugging in, and avoid charging near pools, sprinklers, or beach areas.
Unplug the Right Way After Charging
How you disconnect matters just as much as how you connect. A proper shutdown protects your charger’s circuitry and keeps your battery stable.
Wait Before Driving
After unplugging, wait at least 30 minutes before turning the cart back on. This gives the battery system time to stabilize and lets any lingering gases dissipate safely.
Unplug in Reverse Order
- Disconnect the charger from the golf cart first.
- Then unplug it from the wall outlet.
This sequence reduces arcing and protects the internal circuitry of your charger.
Spot Charging Problems Before They Get Worse
Not every issue is obvious. Watch for these warning signs during and after charging.
Light Doesn’t Turn On
If the green indicator stays dark, check the outlet power, inspect the cable for cuts or burn marks, and make sure the connector is fully seated. If everything looks fine but the light still won’t come on, your charger or battery likely needs professional service.
Charger Keeps Shutting Off
A charger that cycles on and off usually signals overheating, a faulty battery cell, or a loose connection. Stop charging right away and inspect. Forcing a charge can permanently damage the entire battery pack.
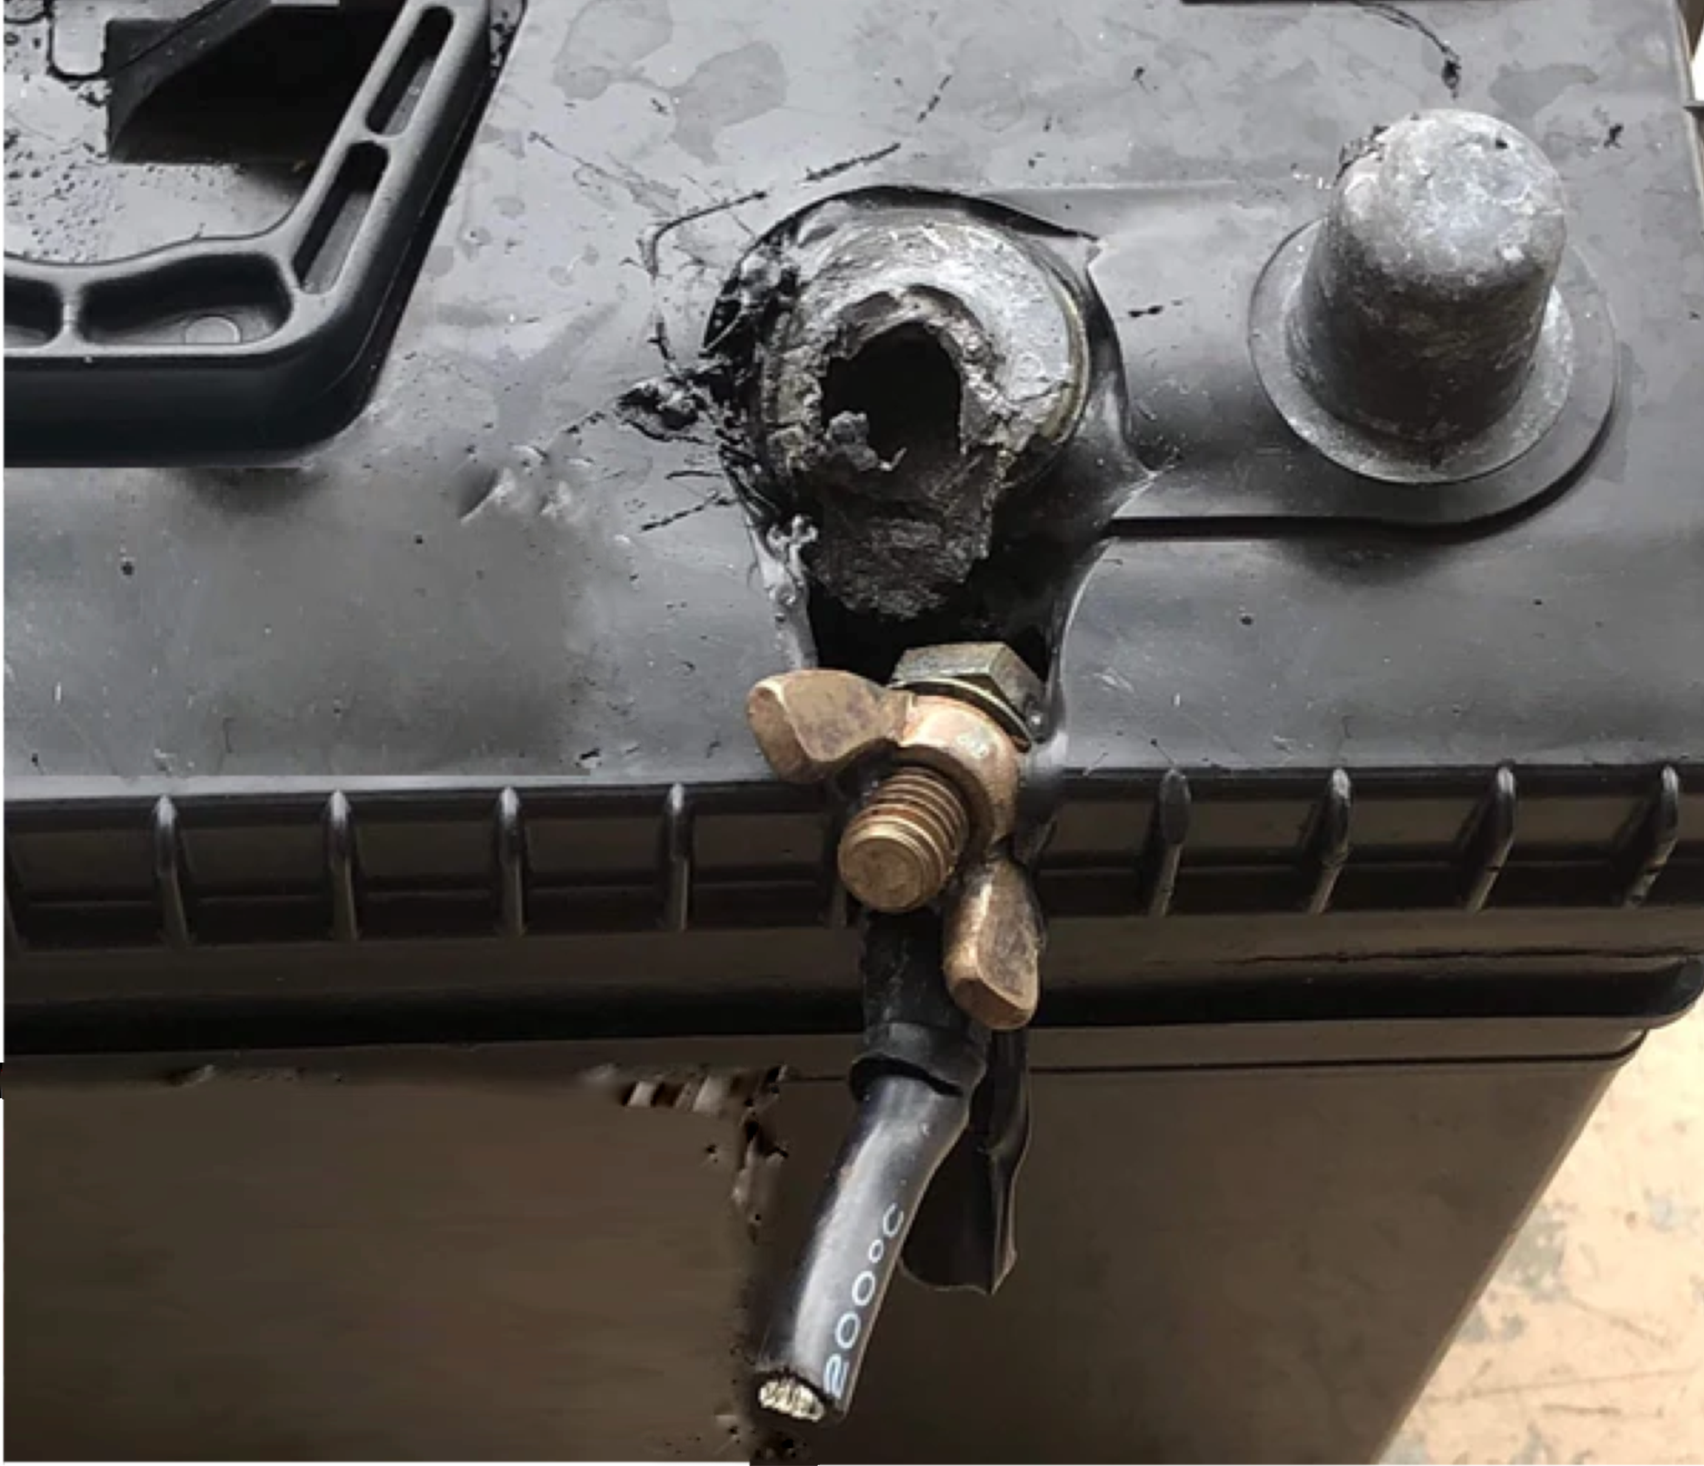
Burning Smell or Hot Components
Unplug immediately if you notice any of the following:
- A strong plastic or chemical burning smell
- Excessive heat from the charger or port
- Discoloration or melting on wires or plugs
These are clear signs of electrical failure. Do not use the charger again until a qualified technician inspects it.
Build Habits That Extend Battery Life
Smart charging routines can double your battery’s usable lifespan.
Charge Regularly, Not Just When the Cart Dies
Frequent full charges prevent sulfation, which is a buildup of lead sulfate crystals that reduces battery capacity over time.
Avoid Deep Discharges
If your cart starts losing power uphill or moving noticeably slower, the battery is already below 20%. Running it that low repeatedly puts cells under serious stress.
Store With a Full Charge
If you’re not using the cart for more than a few days, fully charge it first and top it off every 30 days. A stored battery left empty can permanently fail within just a few weeks.
When to Call for Professional Help
Some problems go beyond basic troubleshooting. Reach out to a qualified technician if you notice any of these:
- The cart won’t hold a charge even after a full cycle
- The indicator light stays off during charging
- The battery leaks fluid or smells like rotten eggs (sulfur)
- You hear bubbling, hissing, or popping sounds during charging
San Diego Golf Carts Support: (858) 888-9156 — available 24/7 for charging and operation help.
Frequently Asked Questions About Charging a Golf Cart
How long does it take to fully charge a golf cart?
Most golf carts need around 8 hours for a full charge from empty. Charging time can vary based on battery age, charger output, and how depleted the battery is when you plug in.
Can you leave a golf cart plugged in all the time?
No. Leaving a golf cart plugged in for more than 8 hours causes overcharging, which damages battery cells and shortens overall lifespan. Unplug once the indicator light signals a full charge.
Where is the charging port on a golf cart?
The charging port is typically located under the far-right back seat, hidden behind a black rubber flap. Open the cover to access the male 3-prong outlet.
Is it safe to charge a golf cart in the rain?
No. Water and electricity are a dangerous combination. Always charge in a dry, covered area and never plug in during rain, snow, or wet conditions.
What does a flashing green light mean when charging a golf cart?
A flashing green light near the steering wheel indicates the cart is actively charging. When the light flashes dramatically slower or turns off completely, the battery has reached full charge.
Should I charge my golf cart after every use?
Yes. Charging after every use, even short rides, keeps the battery topped off and prevents deep discharges that wear down battery cells faster.
Final Thoughts on Charging Your Golf Cart Safely
Knowing how to charge a golf cart properly protects more than just your battery. It safeguards your investment, prevents accidents, and keeps every ride running smoothly. Stick to these core habits: always charge in a ventilated area, respect the 8-hour limit, watch the green indicator light, and unplug in the correct order.
With consistent care, your electric golf cart can deliver years of reliable performance. Keep this guide bookmarked, and don’t hesitate to call a professional if something feels off. Safe charging leads to safe driving every time.