Few things are more frustrating than pressing your brake pedal and getting little response. Worn pads, grinding noises, or a soft pedal all signal that your cart needs attention. Golf cart brake repair is one of the most common maintenance tasks for both gas and electric models, since rear drum brakes wear down over time.
The good news is that you don’t need advanced skills to handle the work yourself. With basic tools and a few hours, you can replace the brake shoes, restore stopping power, and avoid costly shop fees. This guide breaks down each step clearly, from lifting the cart safely to performing a final test drive.
Essential Safety Steps Before You Start
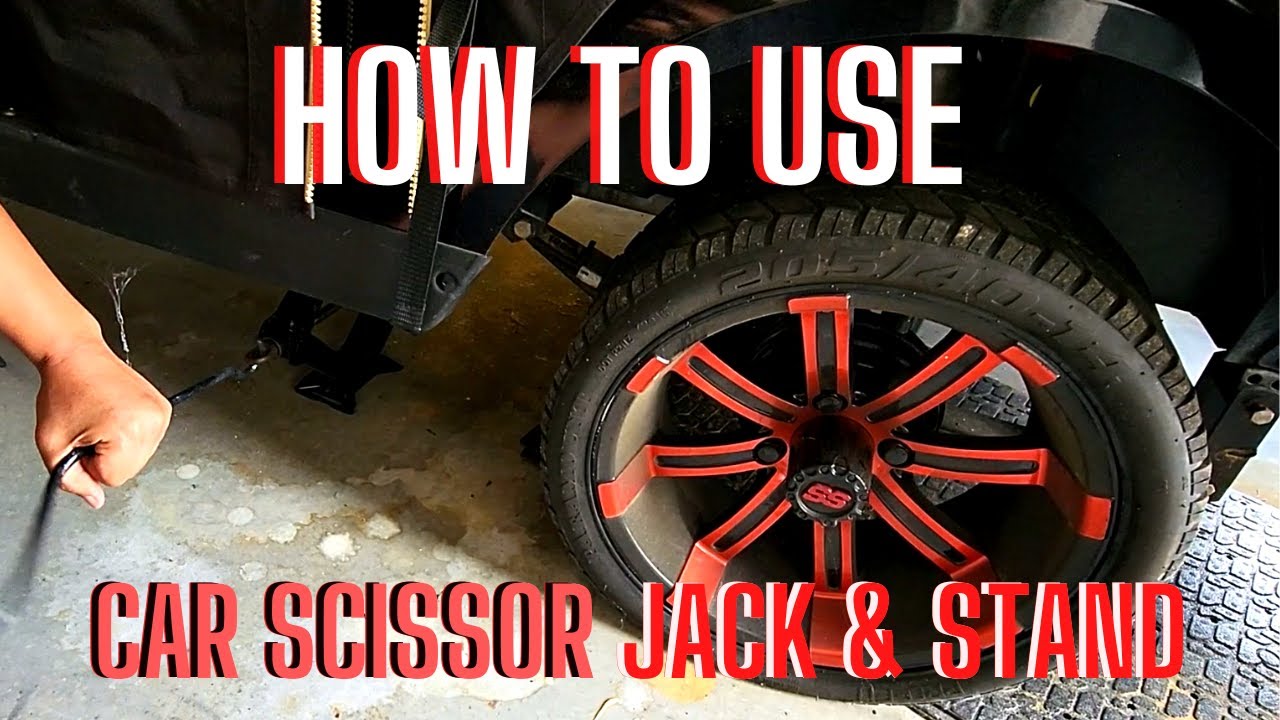
Skipping safety prep is one of the fastest ways to turn a simple repair into an ER visit. A golf cart weighs hundreds of pounds, and working underneath one supported only by a jack is extremely dangerous. Always set up your workspace with stability in mind.
Park on a flat, dry surface and engage the parking brake. Turn off the ignition and remove the key. For electric carts, disconnect the battery pack to eliminate any electrical hazards. Put on safety glasses and work gloves before you touch anything.
Lift the Cart the Right Way
Position a 2-ton floor jack under the rear axle or the manufacturer’s recommended lift spot. Raise the cart slowly until both rear wheels are completely off the ground. Slide jack stands under the frame as a backup before you begin working.
Pro Tip: Jack stands are non-negotiable. Never rely solely on a floor jack, even for a quick job.
Remove the Rear Wheels
With the cart lifted and stable, your next task is clearing the path to the brake drums. The wheels must come off first, but there’s a smart order of operations to follow.
Loosen Lug Nuts First
Use a socket wrench or lug wrench to slightly loosen each lug nut while the wheel is still on the ground. This prevents the wheel from spinning when you apply force. Once loose, raise the cart and fully remove the nuts.
Pull Off Each Wheel
Slide each rear wheel straight off the axle and set it on cardboard or carpet to protect the rim. Place the lug nuts in a labeled container so nothing gets lost.
Visual Cue: Check the hub area for rust or corrosion. If you spot buildup, spray penetrating oil and wait 10 minutes before continuing.
Access the Brake Drums

Now you can see the round metal drum covering the brake assembly. Removing it gives you access to the brake shoes, springs, and adjuster.
Remove the Brake Drum
Tap the outer edge of the drum with a rubber mallet to break any rust seal. Pull the drum straight back toward you. If it sticks, rotate it slightly while pulling to free it.
Common Issue: A lip can form on the drum edge from wear, causing it to bind. If tapping doesn’t work, use a brake drum puller rather than forcing it with a pry bar.
Inspect What You See
With the drum removed, examine the brake shoes, return springs, and the adjuster star wheel. Look for thin or cracked linings, broken springs, or glazed surfaces. For most golf cart brake repair jobs, swapping out the shoes is enough to restore performance.
Replace the Brake Shoes
Worn shoes are the most common reason brakes fail. New pads bring back the grip and quiet operation you need.
Remove the Old Shoes
Brake shoes are held by one or two retaining clips, usually spring-loaded pins or metal C-clips. Use pliers or a small screwdriver to remove these clips, then pull the old shoes off the backing plate.
Warning: Don’t force anything. If a component is stuck, spray a little lubricant and wiggle gently. Forcing parts can damage the wheel cylinder or adjuster.
Prep the New Pads
Apply a thin layer of anti-squeal grease to the metal contact points on the back of each new shoe. This step reduces vibration and prevents the high-pitched squeal that often follows a fresh install.
Pro Tip: Use only high-temperature brake grease. Regular grease melts under heat and will fail quickly.
Install the New Shoes
Slide the new shoes into position on the backing plate and align them with the adjuster and wheel cylinder. Reattach the retaining clips securely. The shoes should pivot slightly without rattling.
Reassemble and Make Adjustments

Once the new shoes are in place, it’s time to put everything back together and fine-tune the fit.
Reattach the Brake Drums
Slide each drum back over the new shoes. It should fit snugly without resistance. If the drum won’t seat, back off the adjuster star wheel slightly through the access slot.
Mount the Wheels
Place each rear wheel back onto the axle and hand-tighten the lug nuts in a star pattern. This ensures even pressure across the wheel.
Lower the Cart
Remove the jack stands and slowly lower the cart with the floor jack. Once the wheels touch the ground, fully tighten the lug nuts with a torque wrench, typically 80–90 ft-lbs for most carts.
Test and Fine-Tune Your Work
A successful golf cart brake repair always ends with a real-world test. Skipping this step risks driving a cart with poor brakes.
Take a Slow Test Drive
Drive in a safe, open area like a driveway or empty parking lot. Press the brake pedal gently and pay attention to pedal feel, stopping distance, and any unusual noise.
Adjust Brake Tension
If the pedal feels soft or the brakes drag, adjust the star wheel through the access hole. Turn clockwise to tighten (shoes closer to the drum) or counterclockwise to loosen.
Ideal Setting: Shoes should lightly rub the drum when you spin the wheel by hand, then self-adjust as they wear in.
Common Brake Problems and Quick Fixes

Even after a clean install, issues can pop up. Here’s how to troubleshoot the most frequent complaints.
Brakes Squeal After Replacement
This usually points to missing anti-squeal grease or glazed drums. Reapply grease to the contact points. If noise continues, have the drums resurfaced or replaced.
Pedal Goes to the Floor
A spongy pedal often means air in the hydraulic lines or excessive shoe-to-drum gap. Bleed the brake lines or readjust the star wheel until you feel solid contact.
Cart Pulls to One Side
Uneven shoe adjustment or oil contamination causes this. Clean the pads with brake cleaner and recheck the adjustment on both sides to balance performance.
Maintenance Tips to Prevent Repeat Repairs
Smart upkeep extends the life of your brakes and keeps you safe on every ride.
Clean Brakes Annually
Remove the drums once a year to inspect the shoes and clear dust buildup. Use brake cleaner spray and a wire brush on metal components.
Lubricate Moving Parts
Apply grease to the adjuster threads and pivot points during each inspection. This prevents seizing and keeps the system working smoothly.
Watch for Performance Changes
Note any shift in pedal response or stopping distance. Early detection prevents damage to drums and wheel cylinders.
When You Need More Than New Pads
Sometimes golf cart brake repair goes beyond swapping shoes. Watch for these signs that other parts need attention.
Worn Brake Drums
Measure drum thickness with a micrometer. If the measurement falls below the manufacturer’s spec, usually stamped on the drum, replace it. Out-of-round drums cause pulsation and noise.
Failed Wheel Cylinder
Fluid leaks near the backing plate or a spongy pedal signal a bad wheel cylinder. Replace it immediately to prevent brake failure.
Corroded Backing Plate
Rust can warp the plate and misalign the shoes. Replace it if you see severe pitting or bending.
Frequently Asked Questions About Golf Cart Brake Repair
How do I know if my golf cart brakes need replacing?
Common signs include grinding or squealing noises, a soft or spongy brake pedal, longer stopping distances, or visible wear on the brake shoes when you remove the drum.
Can I adjust golf cart brakes at the cable instead of the hub?
No. Adjustments should always be made at the hub assembly, not on the brake cables. Adjusting at the cable can lead to uneven braking and premature wear.
What grease should I use on brake shoes?
Use high-temperature anti-squeal grease designed specifically for brake components. Standard grease melts and causes contamination under heat.
How tight should lug nuts be on a golf cart?
Most golf cart lug nuts require 80–90 ft-lbs of torque. Always use a torque wrench to ensure even tightening and prevent wheel damage.
Is it safe to drive a golf cart with squeaky brakes?
Squeaking often signals worn pads or glazed drums. While the cart may still stop, continuing to drive risks further damage and reduced braking power. Address the issue promptly.
Key Takeaways for a Successful Golf Cart Brake Repair
Replacing your golf cart brakes is a manageable DIY project when you follow the right sequence. Start with a safe lift using jack stands, remove the wheels and drums carefully, and swap the shoes using high-temperature grease on contact points. Reassemble with proper torque settings, then test at low speed before heading back to the course.
For carts you use daily or drive on hilly terrain, schedule a professional inspection every 12 months even after a DIY repair. Your brakes are your most important safety feature, and consistent care keeps them reliable for years.